

TrialLine recently added a new ‘Contacts’ feature that enables you to add contacts to your TrialLines, and these contacts can then be associated with specific events, facts and documents.
This allows you to create contact-specific views of your TrialLine that can be used in depositions, witness examinations or as a visual aid to help you get a better understanding of a particular person’s role in your case.
The default ‘Contact Categories’ include plaintiffs, defendants, medical providers and expert or lay witnesses, but categories are also fully customizable, so you can create your own and add whatever types of contacts are necessary.
Contacts can be added two different ways: when creating a new event, or from the ‘Edit Settings’ window for your TrialLine.
Adding Contacts When Creating a New Event
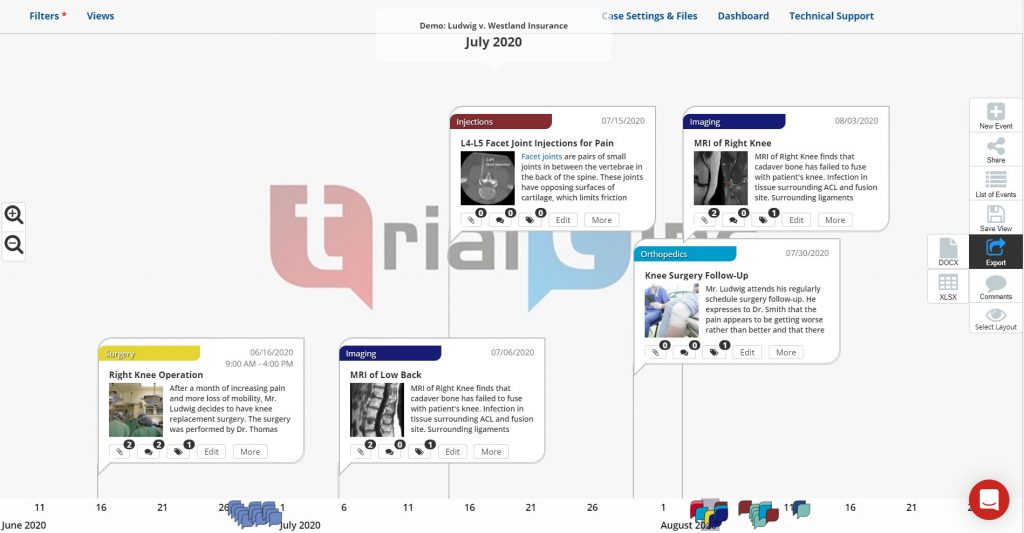
To create a ‘Contact’ when creating a new event, first open the TrialLine you’d like to work on, and then click the ‘New Event’ button from the right side toolbar:

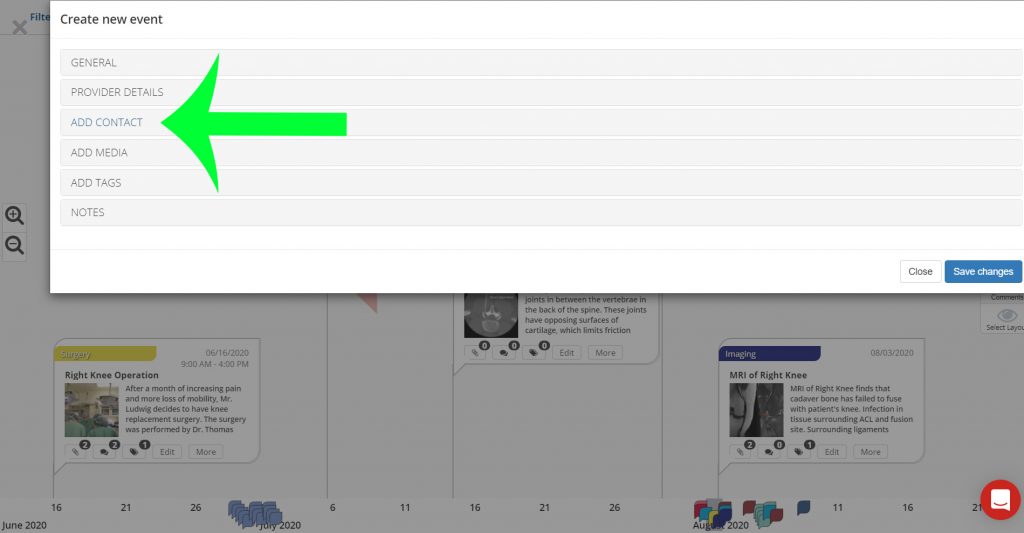
In the ‘Create New Event’ window that opens up, add the relevant information for this event/fact entry, making sure to include a title, start date and category at a minimum, then click on the ‘Add Contact‘ tab:
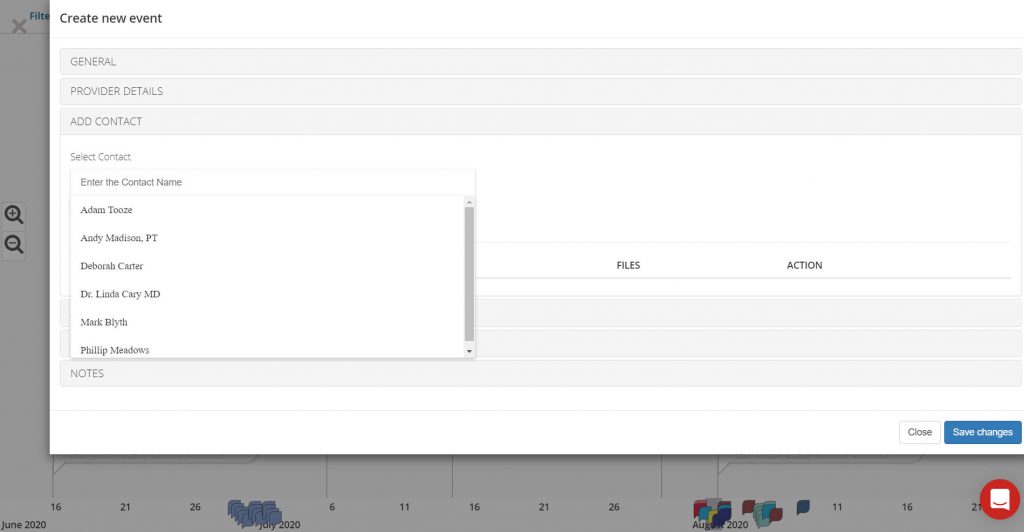
There, you can use the ‘Enter Contact Name’ field to choose from a list of contacts that have already been added to your TrialLine, if any:
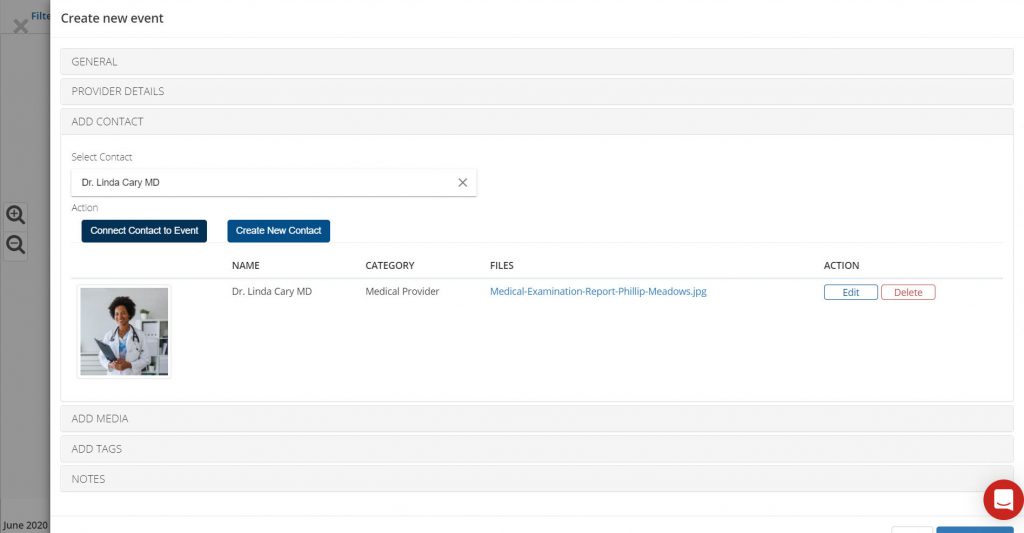
Select the correct contact from the list, and then click the ‘Connect Contact to Event’ button to associate that contact with this event:
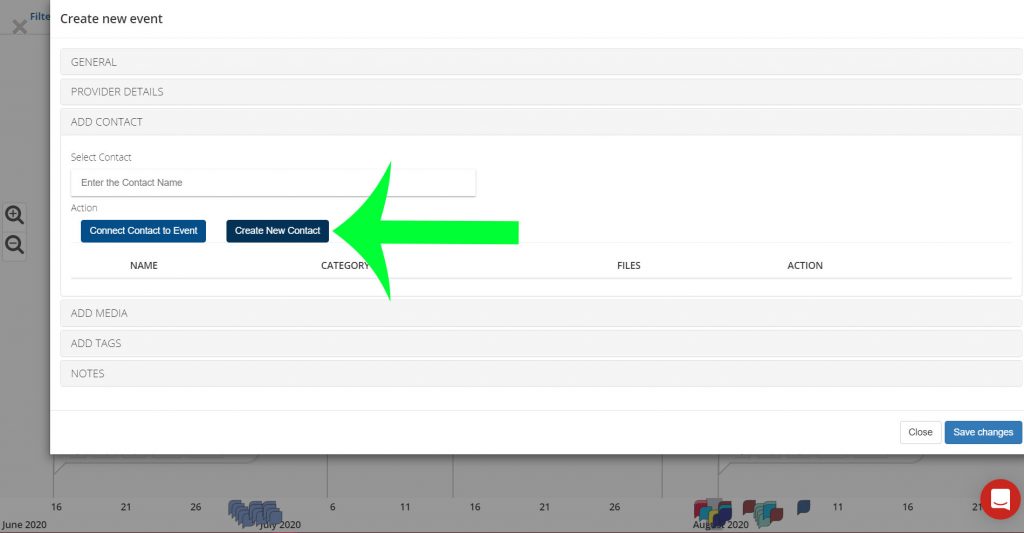
If no contacts have been added yet, you can click the ‘Create New Contact’ button to create a new contact to associate with the event:
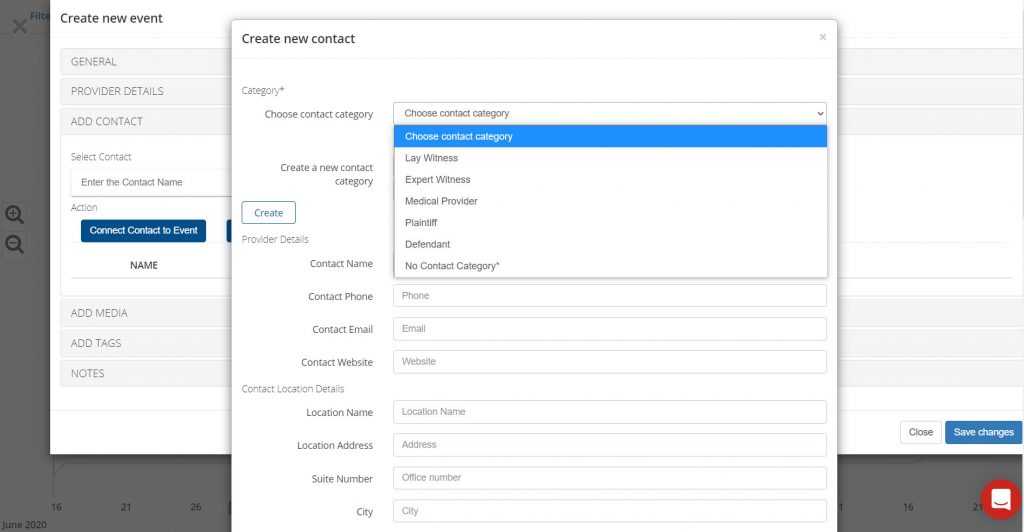
In the window that opens, assign a ‘Contact Category’ (this is a required field) for this new contact, either by selecting from the available options in the dropdown:
or create a new category by typing a contact category name in the ‘Create a New Contact Category’ field, selecting a color for this contact category by clicking in the color bar, and clicking the ‘Create’ button:
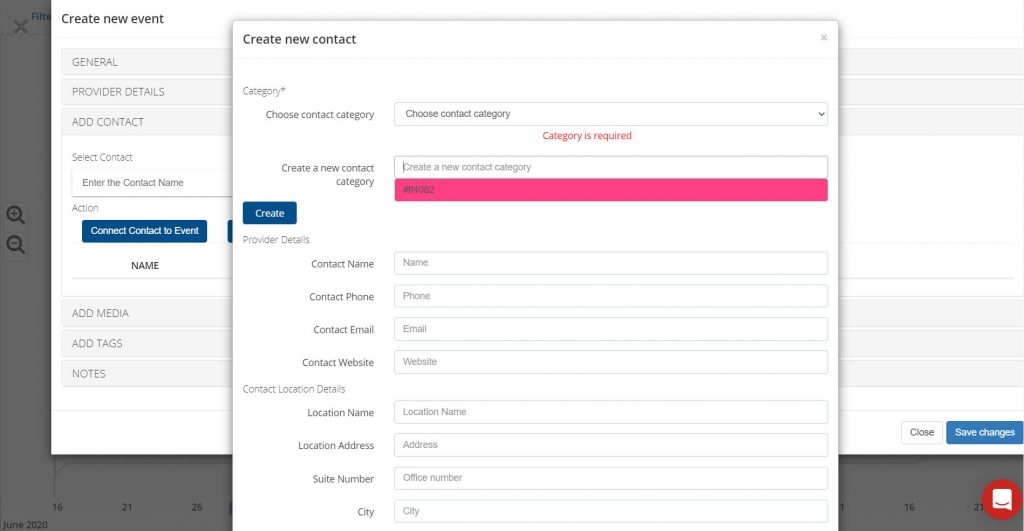
That will automatically assign this contact to the new contact category, and the new category will be available from the dropdown when creating new events in the future.
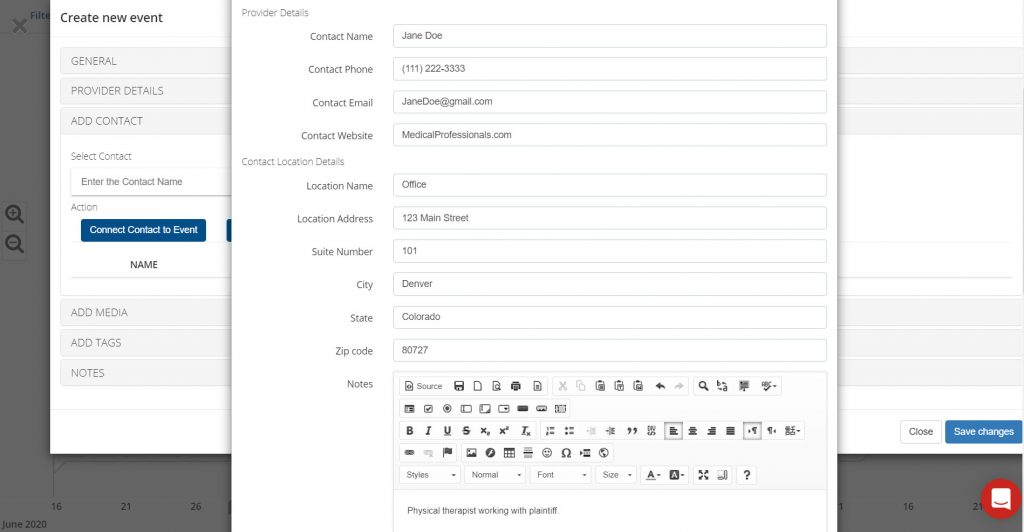
Next, fill out all of the relevant fields for this contact. Be sure to include their name and contact information, and be sure to include a detailed description of how and why this contact is important to your case.
You can also include a photo of this contact, and attach any important documents that are related to this contact:
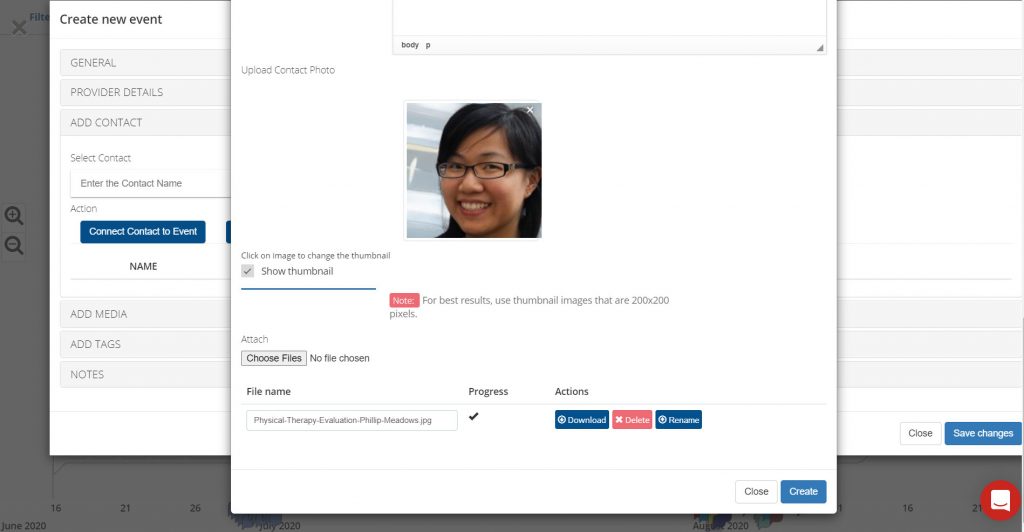
You can also choose not to display a photo for this contact at all by unchecking the ‘Show Thumbnail’ checkbox, and you can rename files as needed by typing in the ‘File Name’ field, and then clicking the ‘Rename’ button.
Once you are satisfied with all of the information provided for this contact, click the ‘Create’ button to associate this contact with this event. This will also make this contact available from the dropdown for future events. If all of the rest of your event/fact entry information is finished, click the ‘Save Changes’ button to create the new event.
Now, when you click on the ‘More’ button for that event, and expand the event flag, you’ll see there is a ‘Contacts’ tab available for that event, and clicking on that will enable you to see more information:
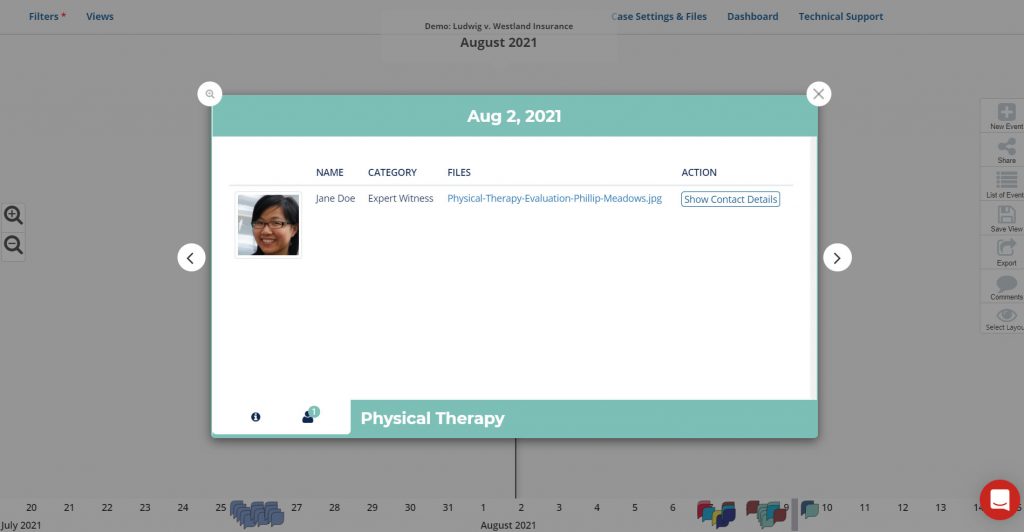
Clicking the ‘Show Contact Details’ button will display all of the provided information for that contact, including any notes as to their significance to the event or the overall case:

Clicking the ‘Show’ button for the file that is associated with this contact, will open that file right in your browser window:

You can also add multiple contacts to the same event, should you need to:

The Case Contacts Menu
You can also create, edit and see all of the contacts that have been associated with your TrialLine, from the ‘Case Contacts’ tab in the ‘Edit Settings’ window.
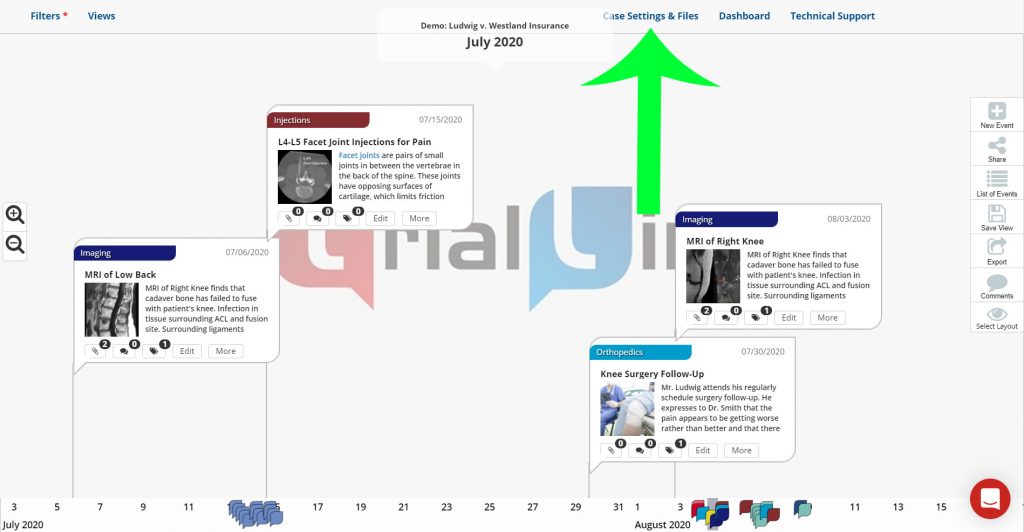
From the main view, click the ‘Case Settings and Files’ button from the top right menu to open the ‘Edit Settings’ window:
Then click on ‘Case Contacts’ to open the menu, and there you’ll see all of the contacts that have been associated with this TrialLine:
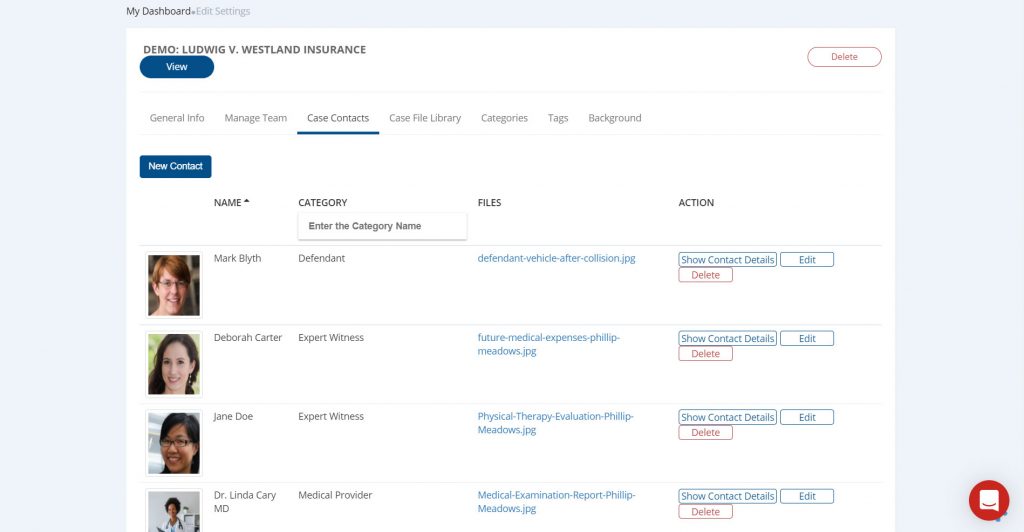
From here you can see all of the information for your contacts, as well as create, edit and delete contacts as needed.
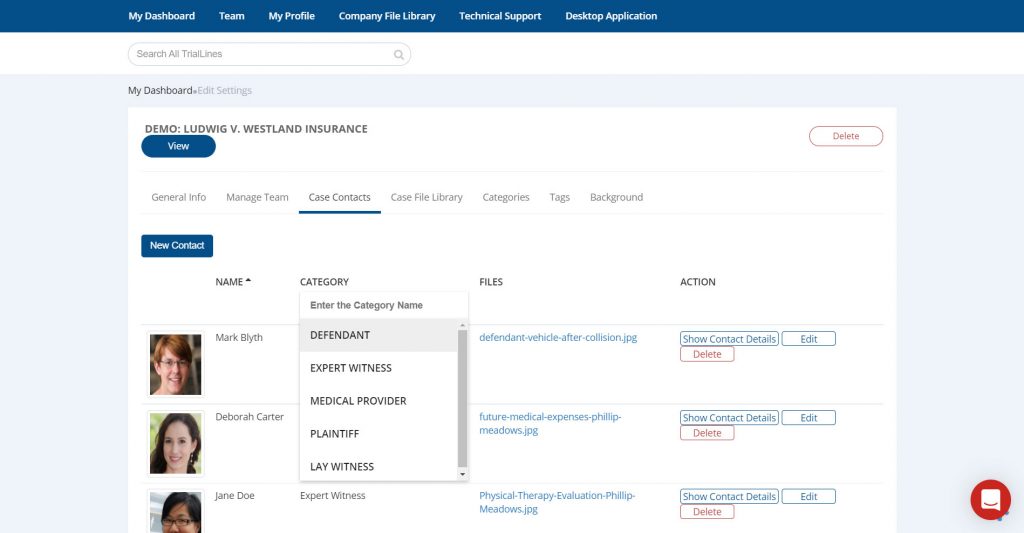
You can also filter by contact category to change which contacts are being displayed, by using the dropdown menu available under ‘Category’:
You can also open the files that are associated with each contact, by clicking the links in the ‘Files’ column:

Exporting Contacts
If required, you can export all of the event data on your TrialLine, including all of the contacts associated with each event, and the contact category they each belong to.
From the relative view, click the ‘Export’ button from the right side toolbar, and select the file format you’d like to export as, either a Word document or an Excel sheet:
In the next window, you’ll be able to choose which data you want to export, including the information for your contacts. Check all of the appropriate boxes, and then click the ‘Ok’ button:

Save the document to your computer, and then you’ll be able to open the DOCX or XLSX file and see all of the contacts that are included in your TrialLine, their respective categories, and the events that they are associated with.
Filtering by ‘Contact Name’ or ‘Contact Category’
Once you have added contacts to your TrialLine, you’ll then be able to use the filtering system to display only those events or fact entries that are associated with specific ‘Contacts’ or ‘Contact Categories’. You’ll then be able to create contact-specific views that you can use in your case, or share with your collaborators.
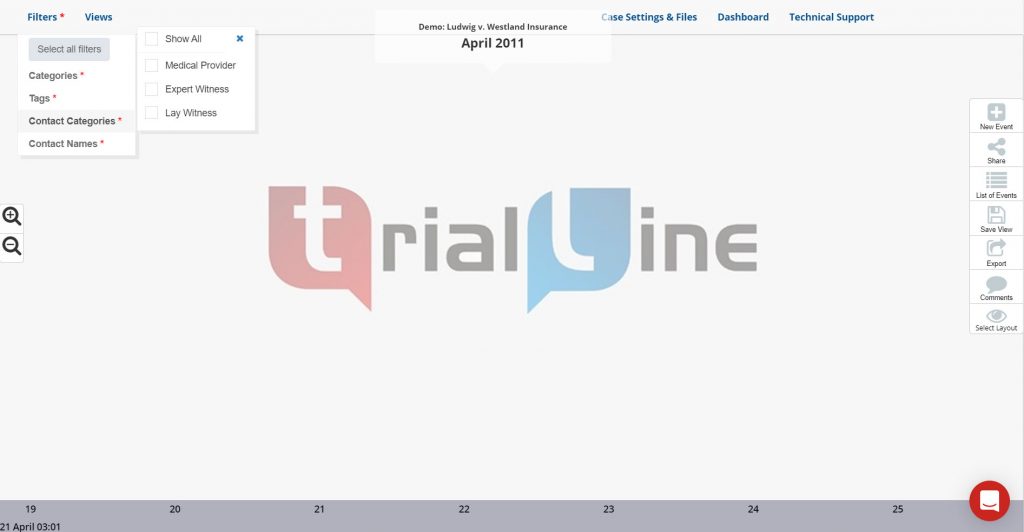
From the ‘Relative’, ‘Pyramid‘ or ‘Carousel’ view of your TrialLine, hover over the ‘Filters’ option in the top left side of the screen to open the ‘Filters’ menu. From there you can select which events to display by choosing from the ‘Contact Name’ or ‘Contact Category’ options, or a combination of the two:
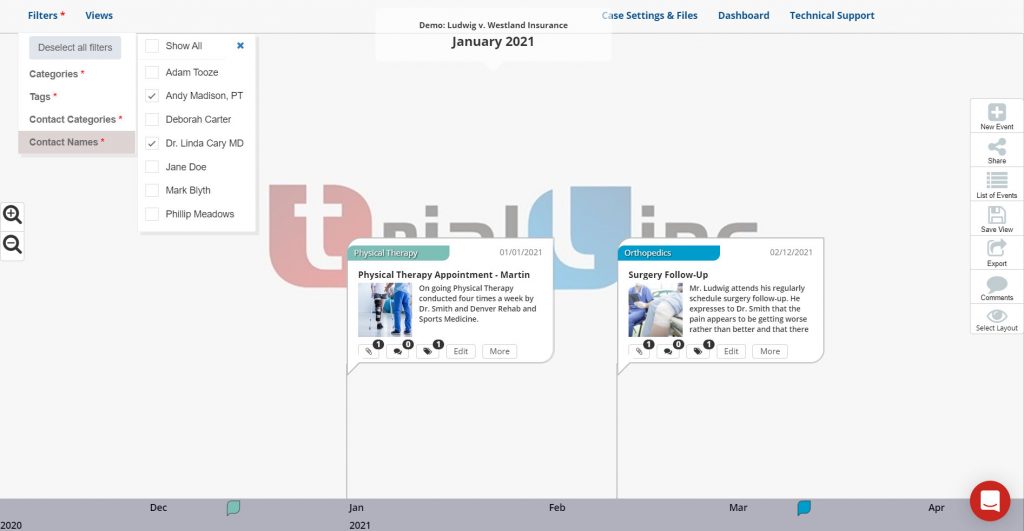
Check all of the boxes for the contacts or contact categories that you want to display, and their associated events and facts will then display in your TrialLine:
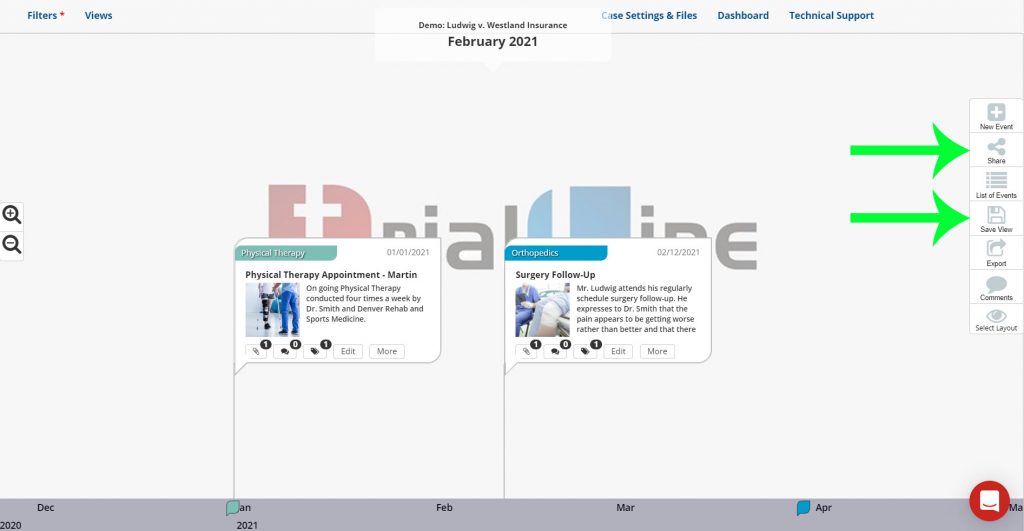
From there you can share or save the view of your TrialLine by selecting the appropriate option from the right side toolbar:
You can learn more about working with TrialLine views from the tutorial available here: Using Categories and Views in TrialLine
TrialLine Attorney Timeline Software
![]() TrialLine is a cloud-based mediation and trial presentation timeline tool for attorneys that want to create efficient and easy to use legal chronologies for their cases. With TrialLine, you can easily organize and share your case events and related documents with staff, experts, juries, opposing counsel, and other attorneys. It’s completely web-based, and can be accessed and shared through any internet connection on any device. Sign up now to try it FREE FOR 14 DAYS!
TrialLine is a cloud-based mediation and trial presentation timeline tool for attorneys that want to create efficient and easy to use legal chronologies for their cases. With TrialLine, you can easily organize and share your case events and related documents with staff, experts, juries, opposing counsel, and other attorneys. It’s completely web-based, and can be accessed and shared through any internet connection on any device. Sign up now to try it FREE FOR 14 DAYS!