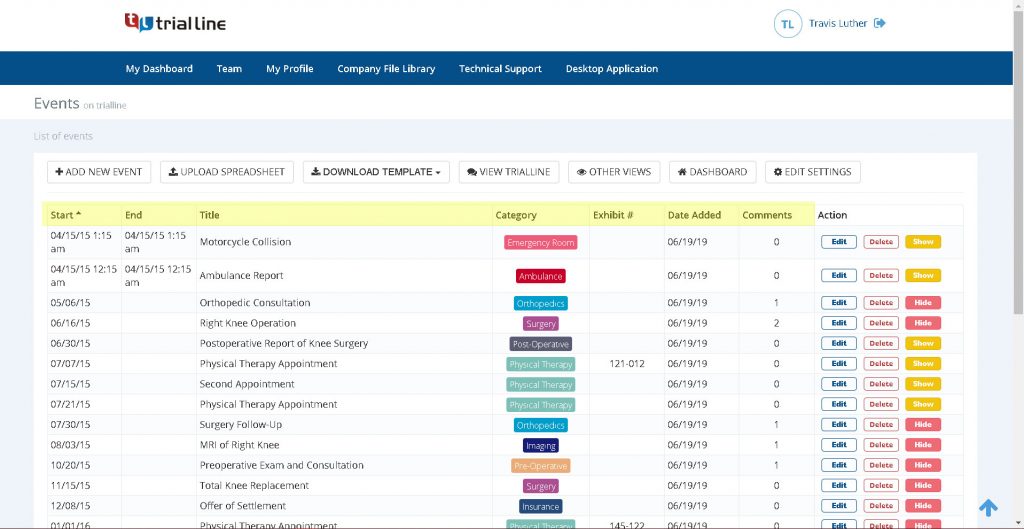
In this tutorial, we’ll show you how to manage the files in your legal case timeline, and explain the various file management features available in TrialLine that can help you stay organized.
TrialLine File Management
TrialLine makes it easy to manage the files you use in your timeline by giving you two different file libraries to store them in:
- The ‘Company File Library‘ – The company file library is a good place to store files that you will be using across multiple TrialLines.
- The ‘Case File Library‘ – The case file library is where you should store files used for a specific TrialLine, and is the default library where files that you attach to events will be stored.
Using Folders
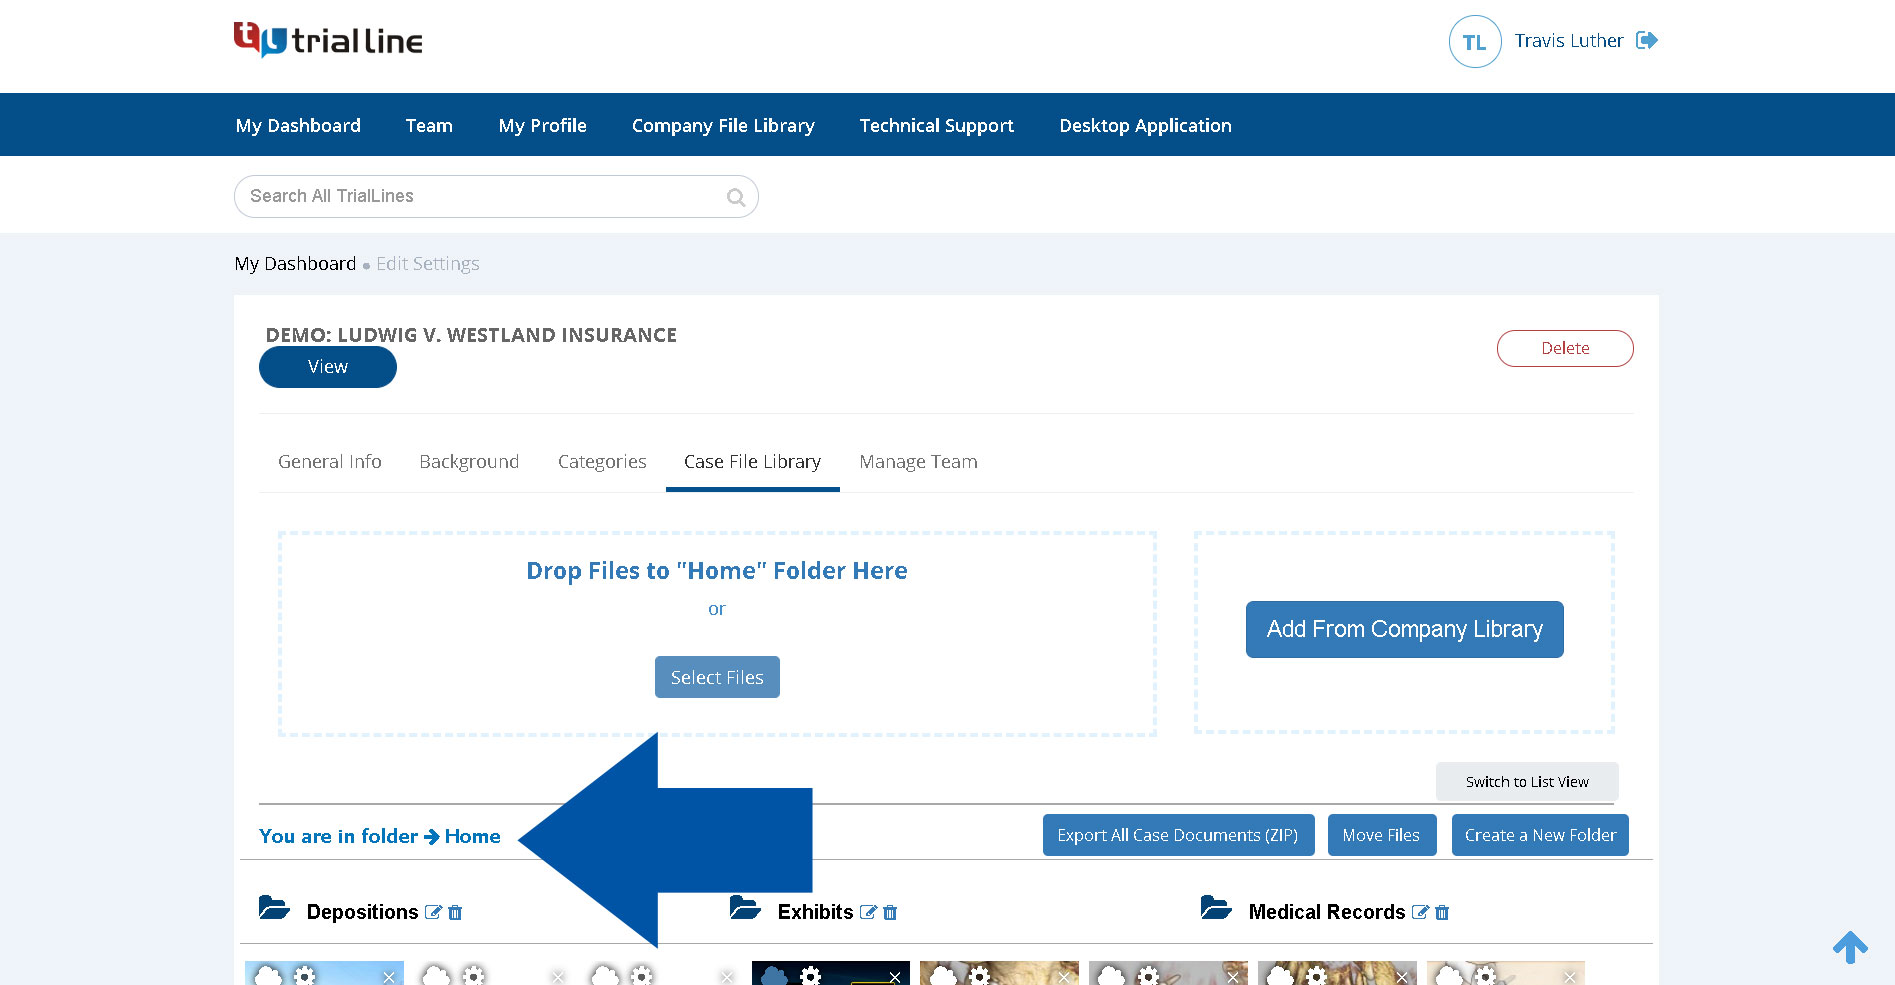
In either file library, you’ll see some clickable text that says: “You are in folder ->Home“. That text will tell you which folder you’re currently in as you move from folder to folder within your library. You can also navigate using that text, by clicking on the name of the folder in the path that you would like to go to.
When you first go to your company or case file library, by default, you’ll automatically be in the ‘Home’ folder for that library:
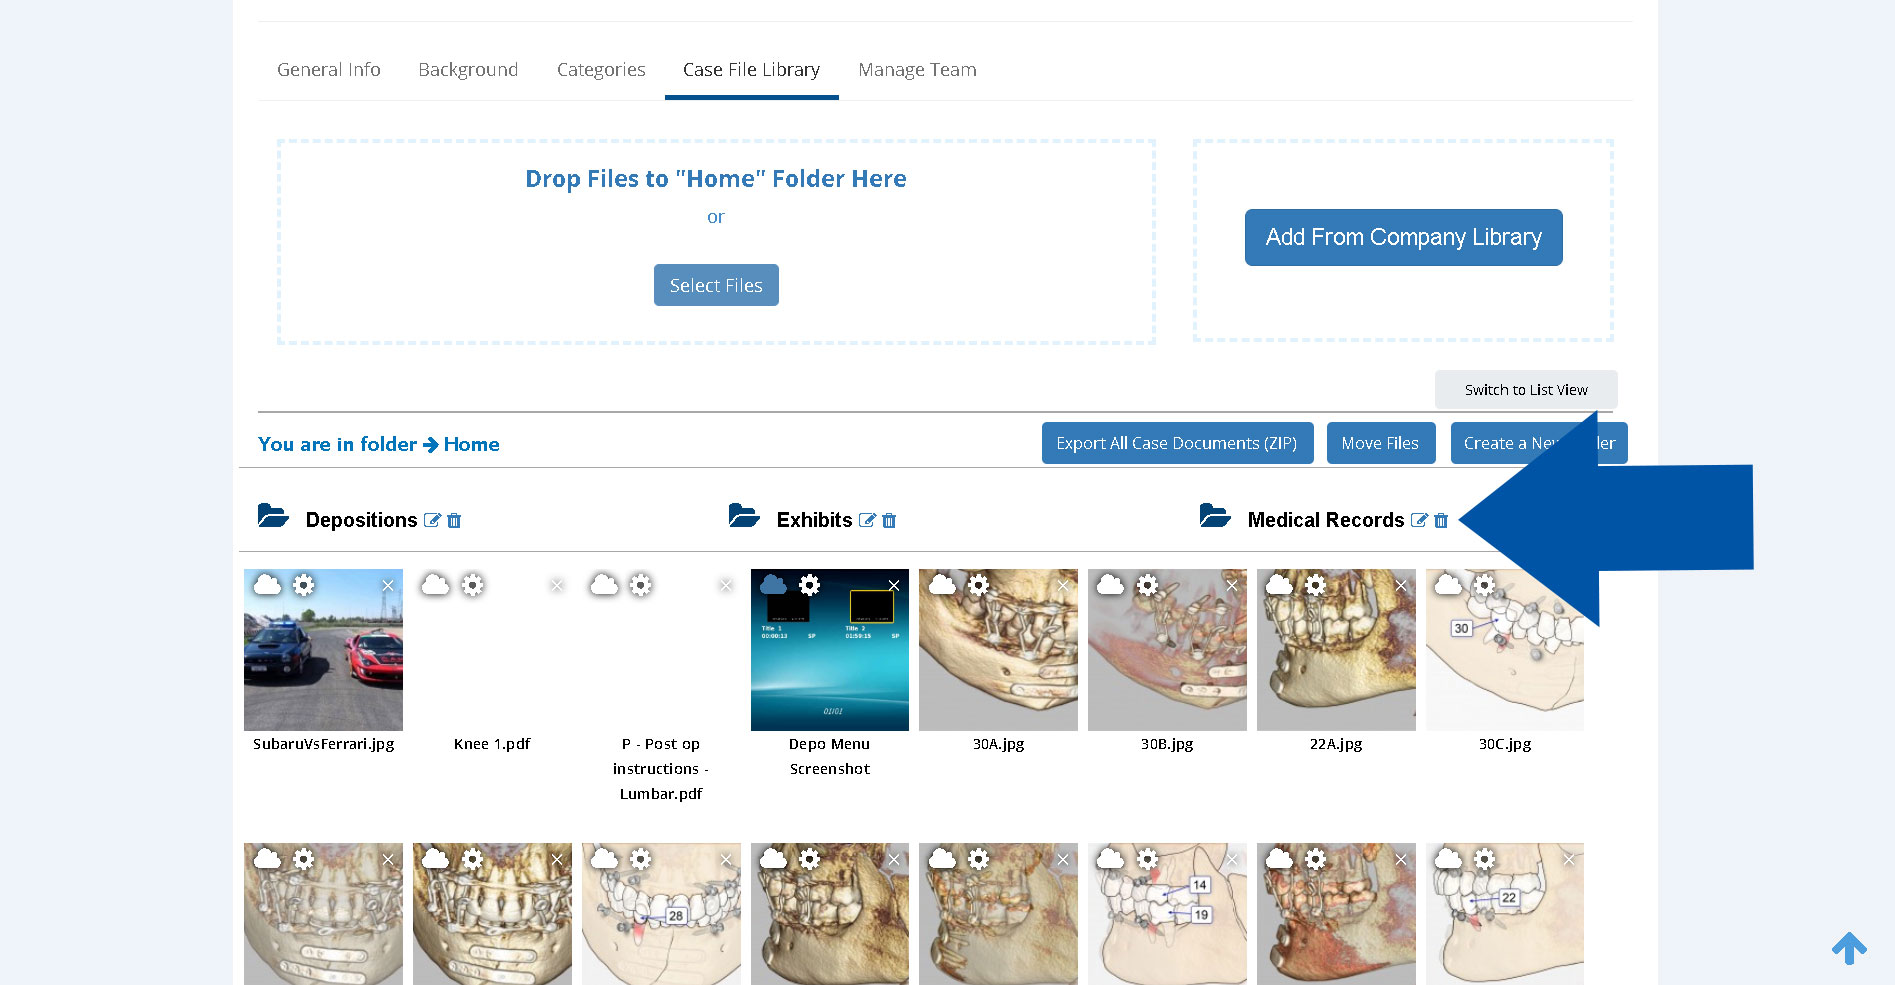
Underneath that text, you’ll see folder icons next to the names of any folders that exist in this library:
If no files or folders exist in the library, you’ll see text that says: “*Looks like you haven’t added any documents to Home yet.”
You can create a new folder by clicking the ‘Create a New Folder’ button, and you can also drag and drop files, or select files from your computer, to add them to your folders:

Next to the names of each folder, you’ll see a pencil icon, which when clicked, will enable you to rename the folder. You’ll also see a trash can icon that will enable you to delete the folder.
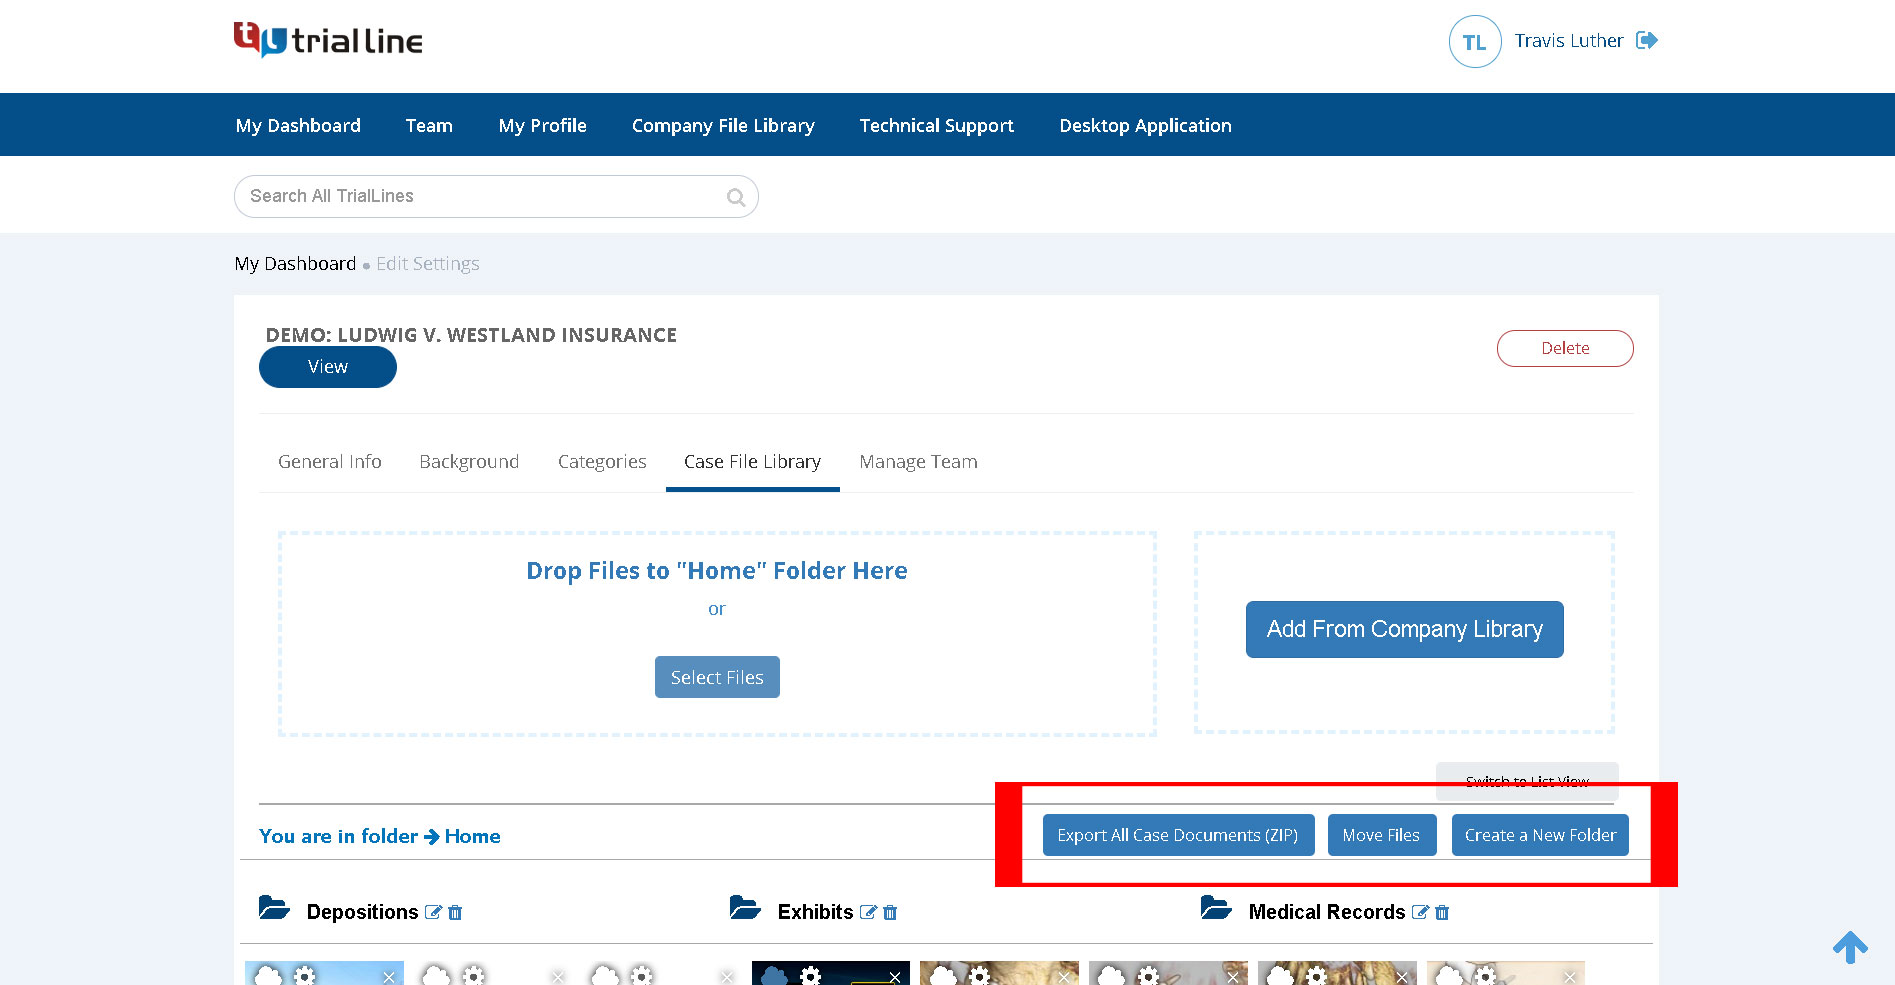
When in either the ‘Company File Library’ or the ‘Case File Library’, you’ll see three buttons underneath the ‘Add From Company Library’ button: ‘Export All Case Documents (ZIP)‘, ‘Move Files‘ and ‘Create New Folder‘:
Export Your Case Files
The ‘Export All Case Documents (ZIP)‘ button enables you to download all of the files in your library as a ZIP file. Simply click that button, and you will be given the opportunity to choose where on your computer you’d like to save the ZIP file.
Organize by Creating New Folders
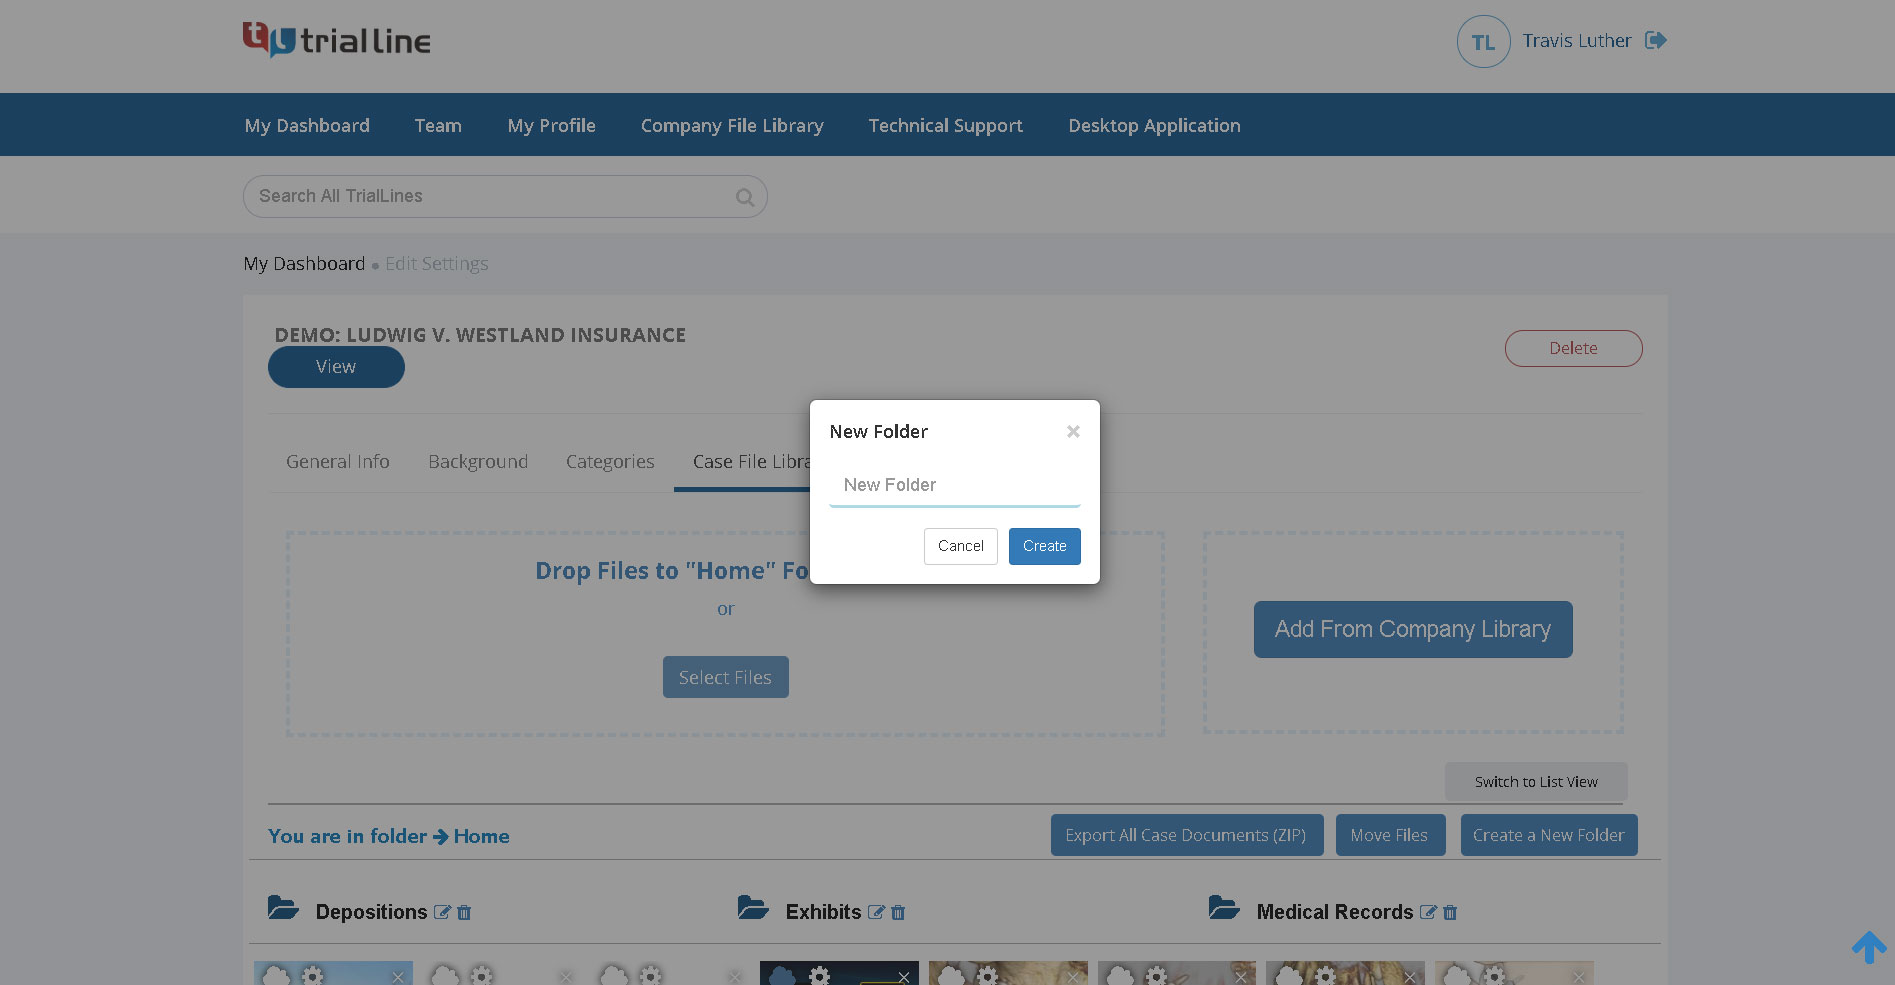
You can create new folders to store your files in by clicking the ‘Create New Folder‘ button. A window will pop up where you’ll be able to name your folder, and once you click ‘Create’, that folder will now be visible with the rest of the folders in this library:
Moving Your Files to Different Folders
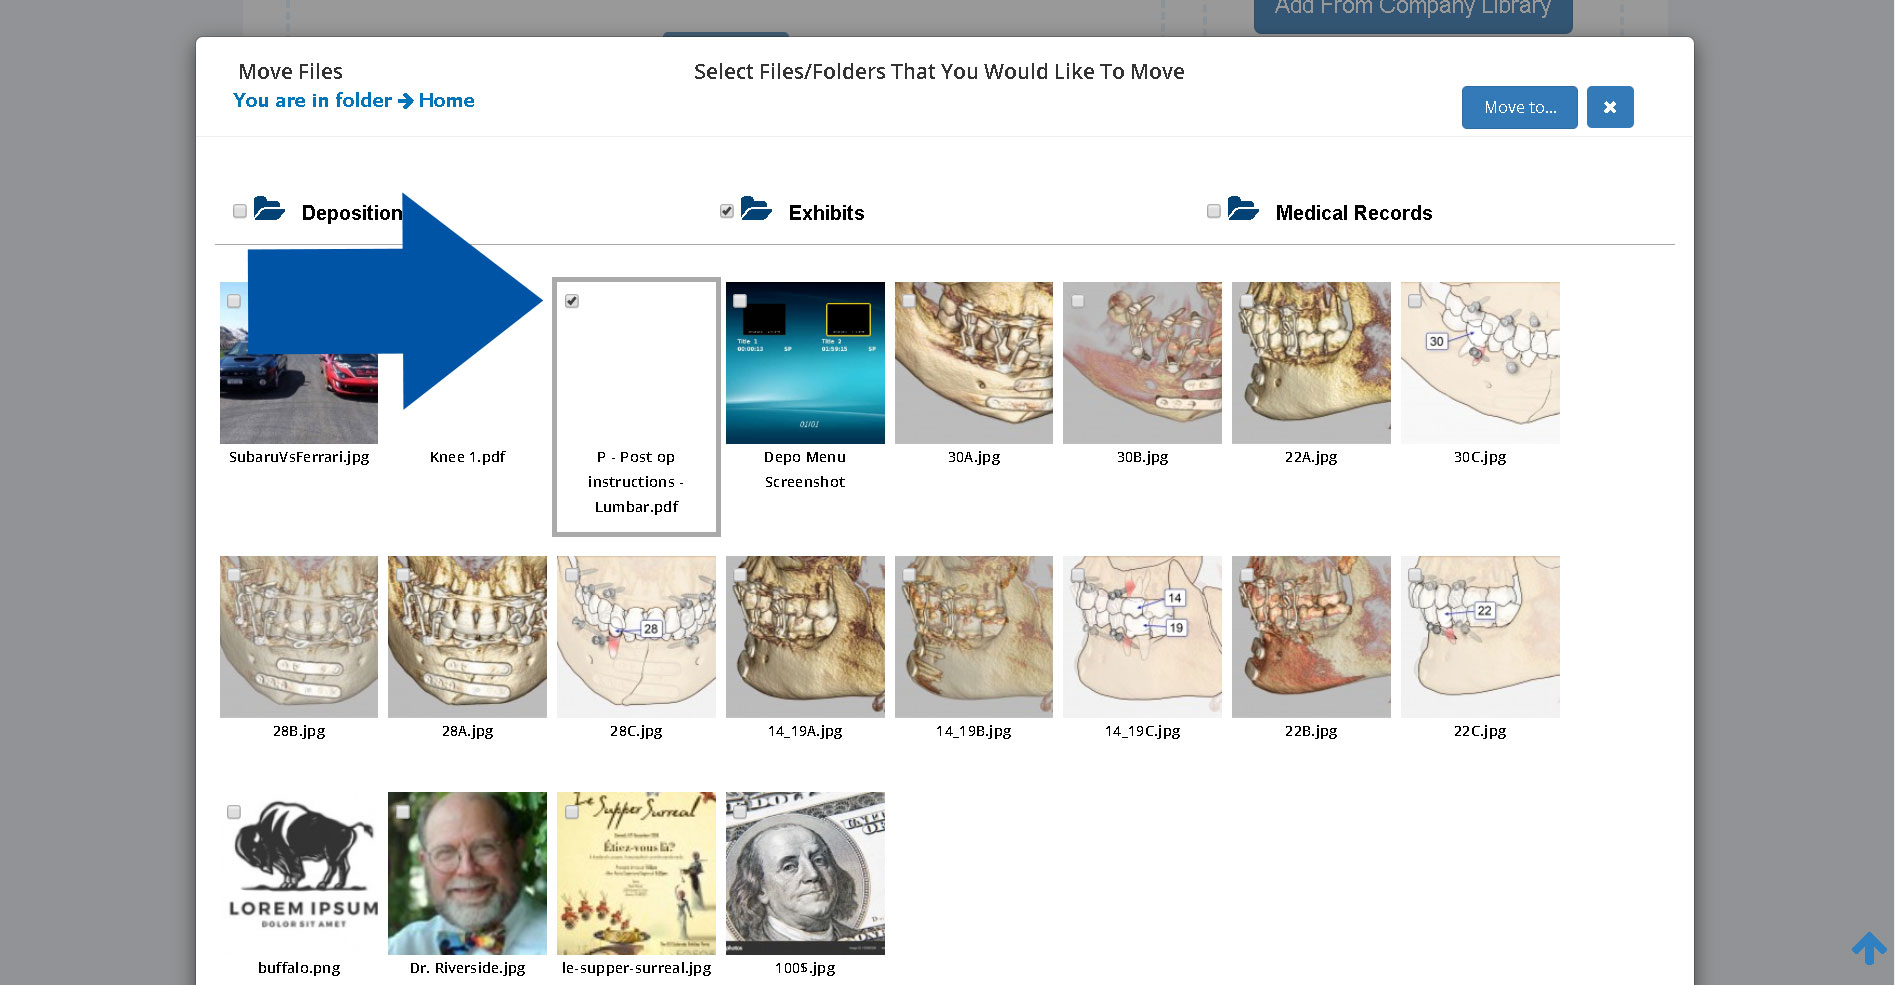
You can move your TrialLine files from one folder into another using the ‘Move Files‘ button. Clicking that button will open a window where you’ll be able to select which files or folders you would like to move. Simply check the box for the appropriate file or folder:
Then, click the ‘Move to…’ button:
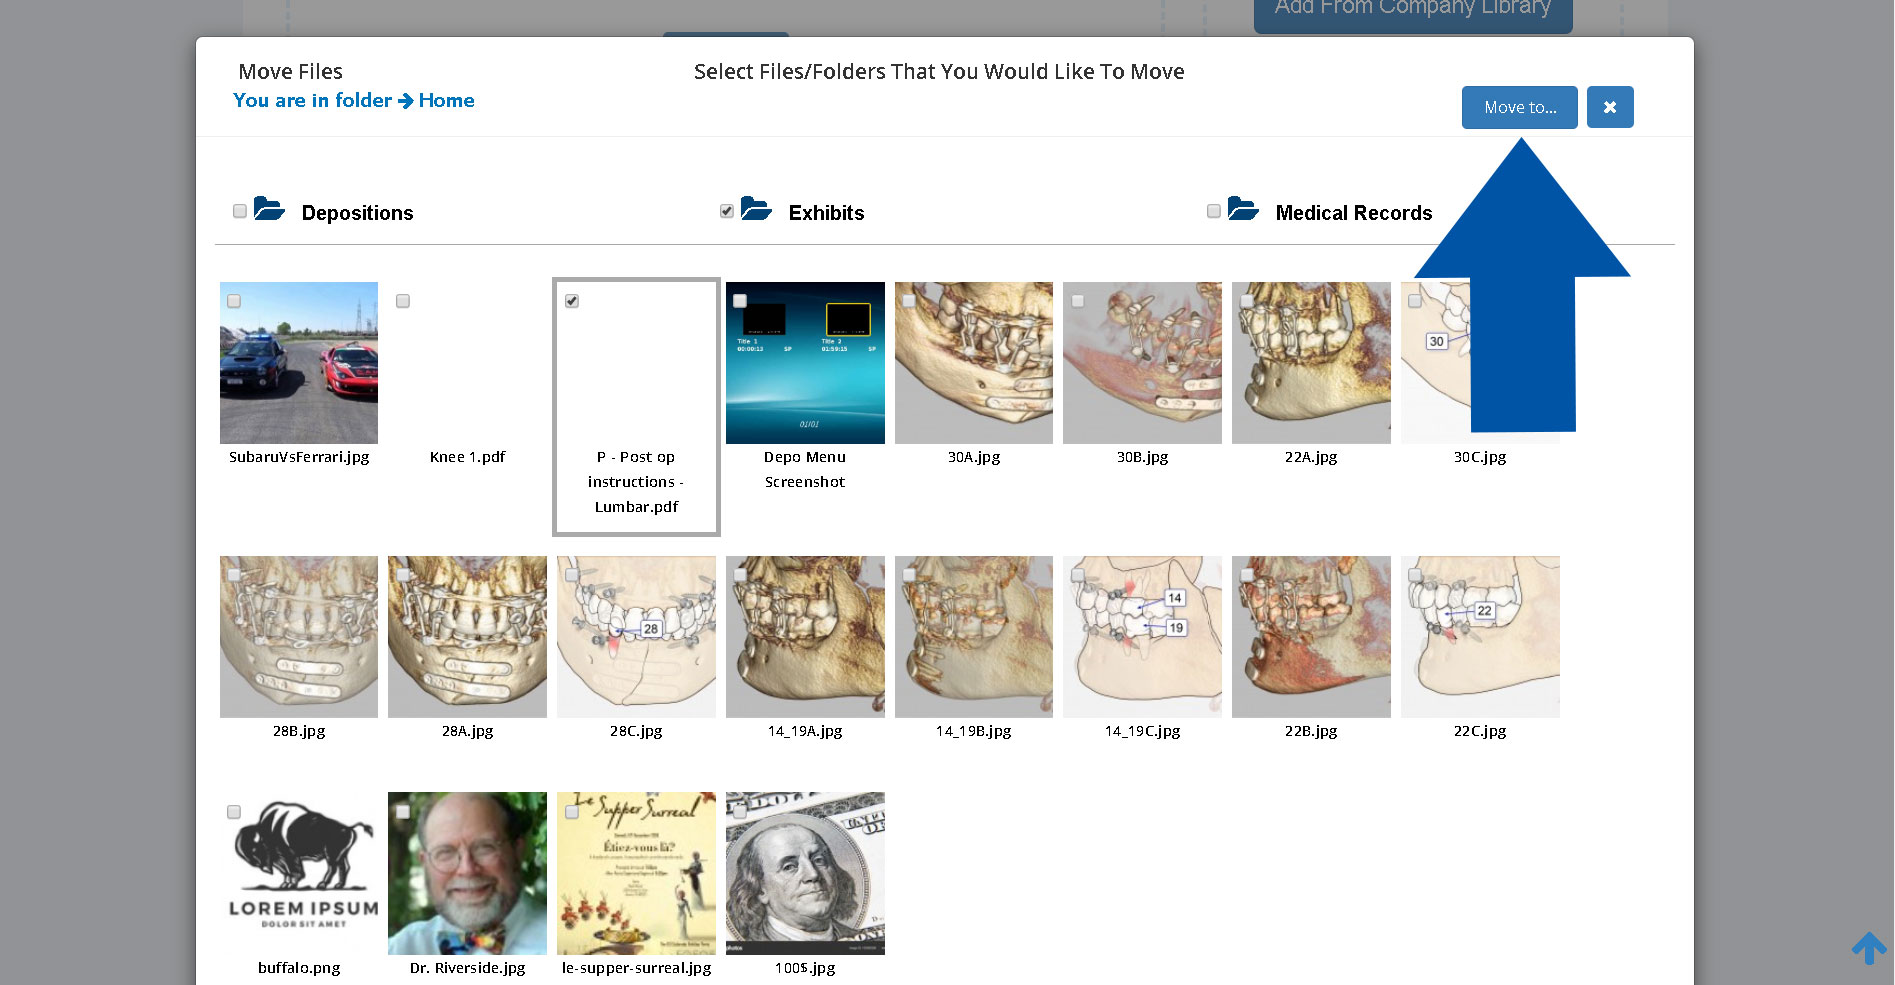
A window will open that shows you all of the folders available for you to move your files to:
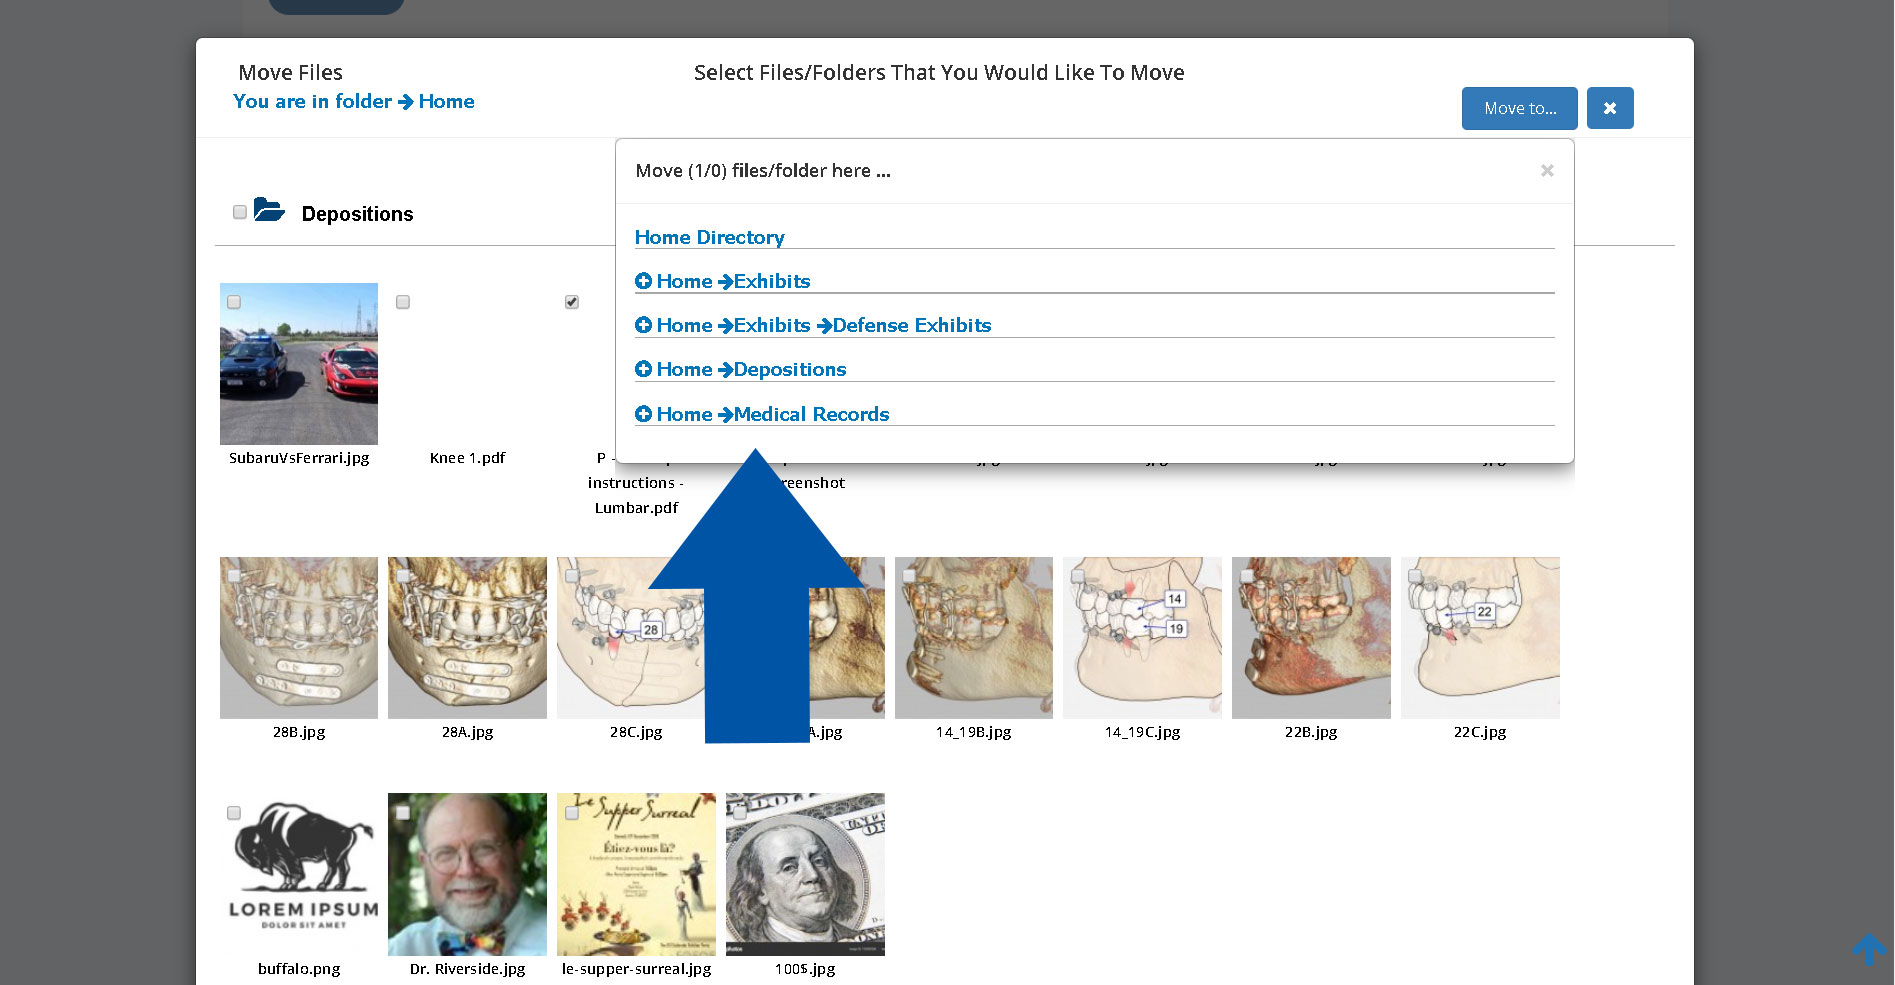
Click on the name of the folder you’d like to move the files to, and those files will now be stored in that folder.
Create Folders Within Folders
TrialLine also let’s you create sub folders within folders in your file library, to give you even more organizational capabilities. To create a sub folder, simply go to the folder that you want to create the sub folder in, and click the ‘Create a Sub Folder‘ button:
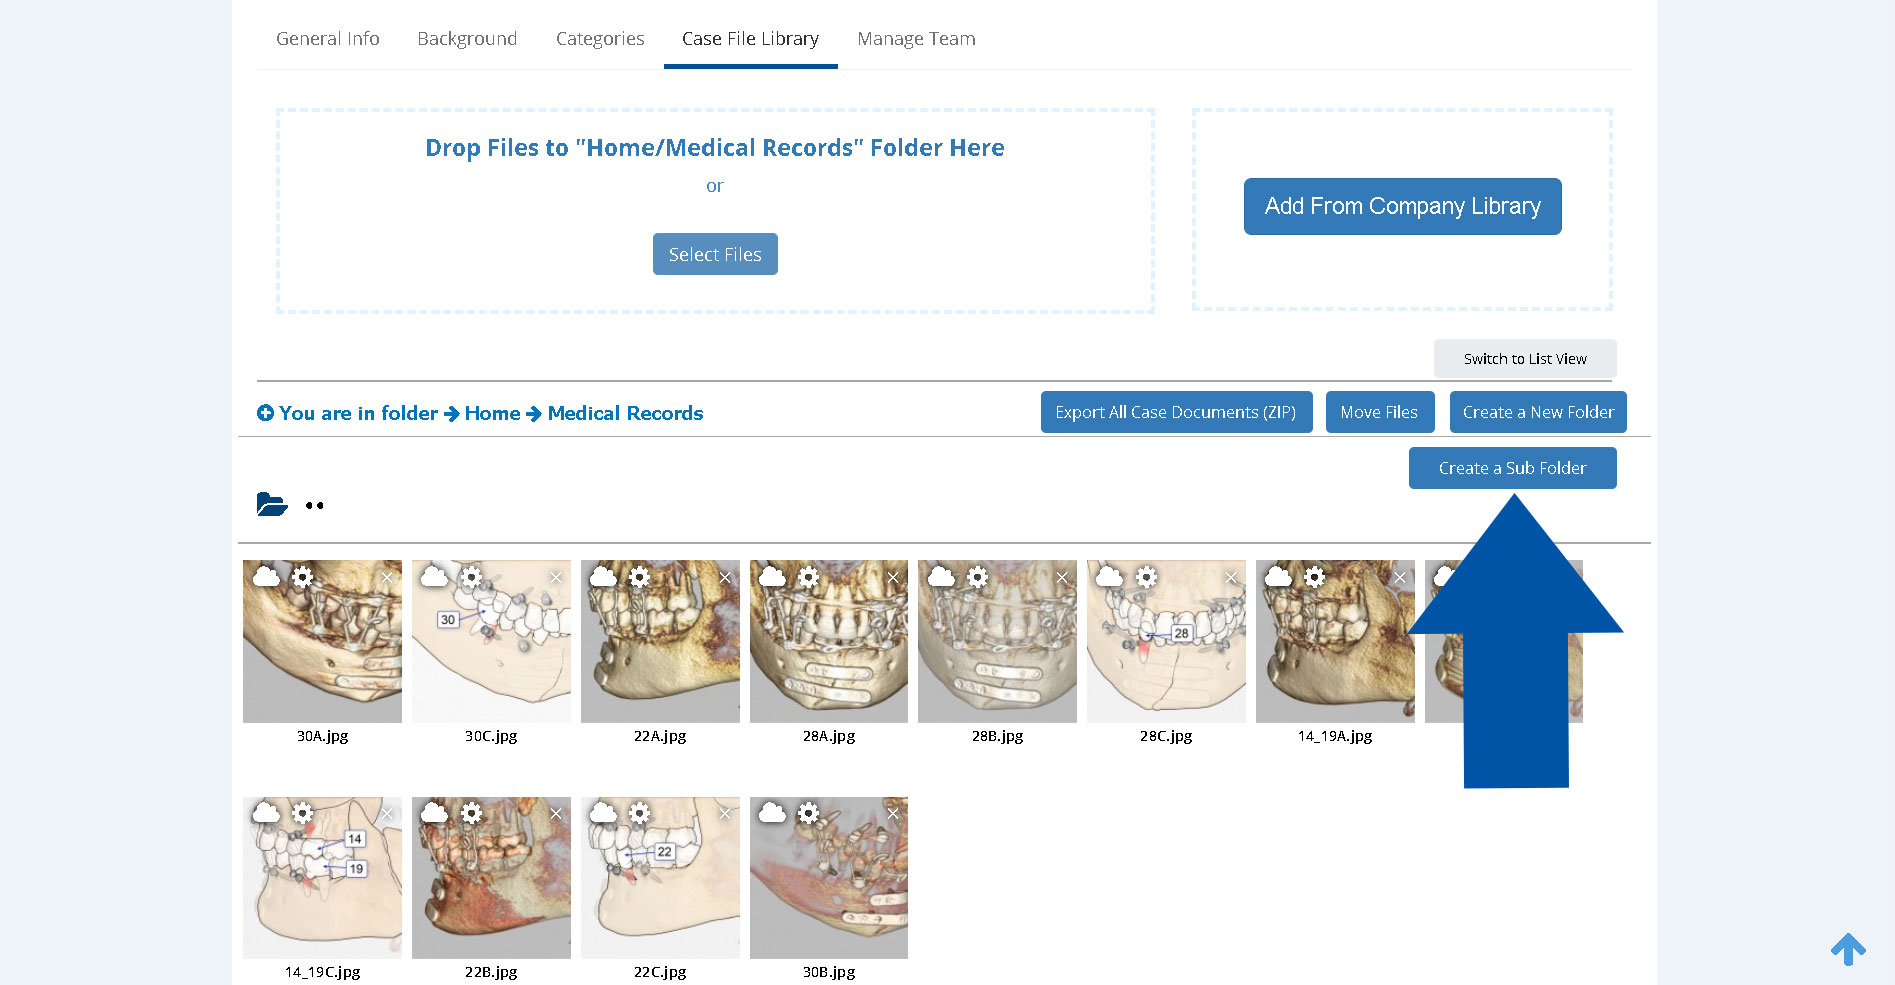
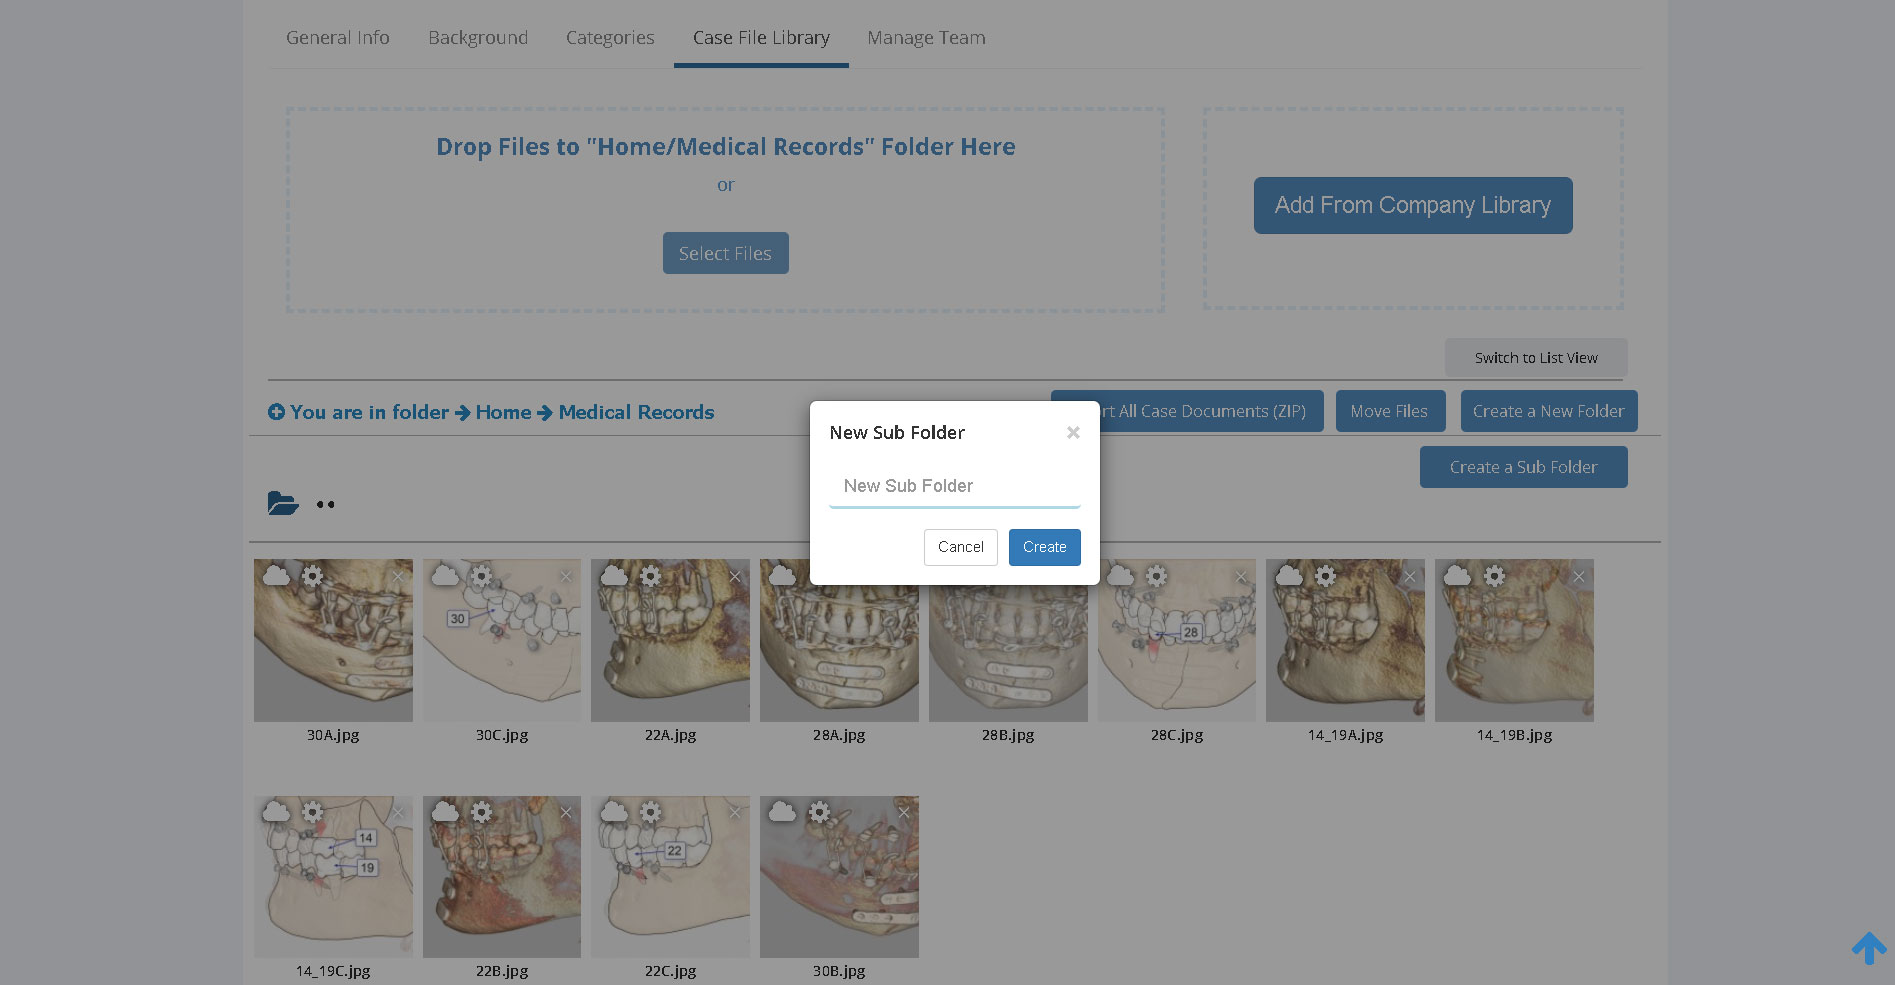
In the window that pops up, simply give your new sub folder a name and click ‘Create’:
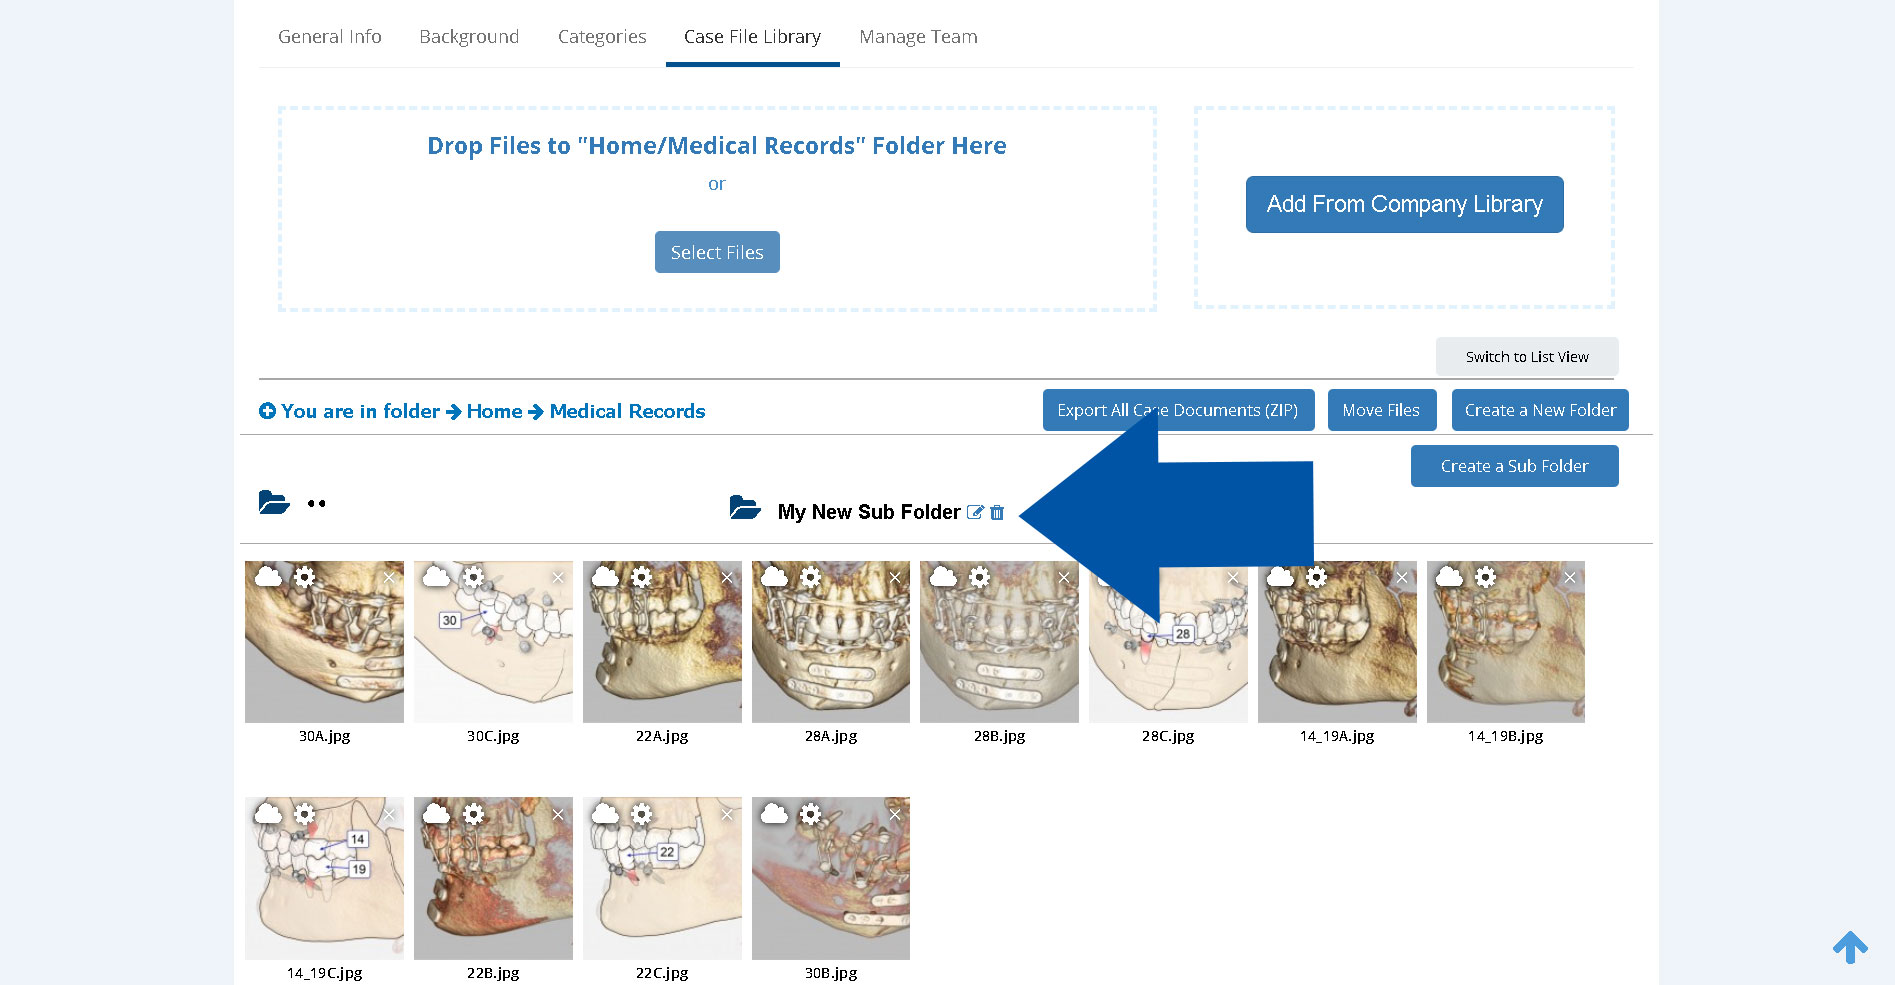
The sub folder will now be visible next to the rest of your folders:
Viewing and Editing Your Files
Beneath the list of folders in your library, you’ll see the files that are stored in the folder you are currently in. Here, there are two possible views available in your file library: the ‘Icon View‘, which is the default view that you’ll see when you first go to your file library, and the ‘List View‘.
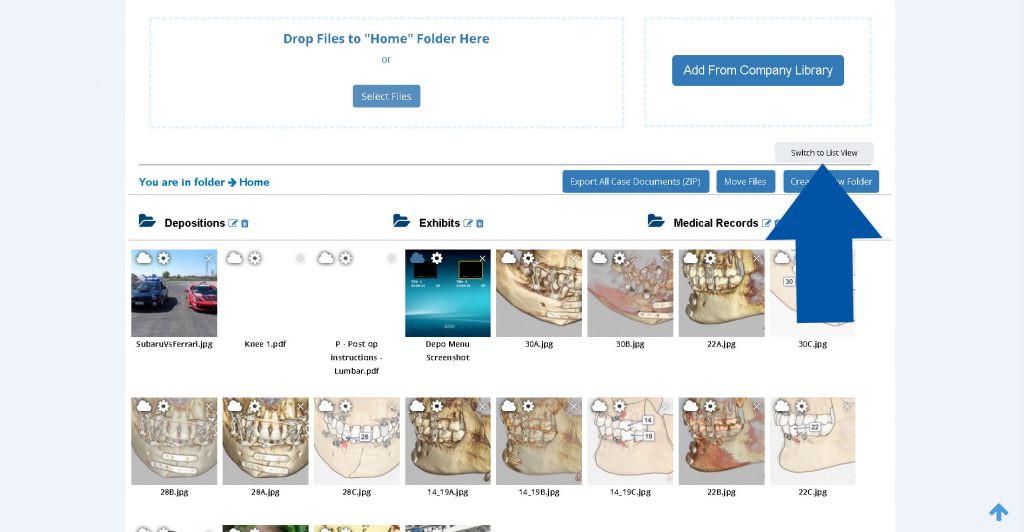
The icon view will display thumbnails for your files, while the list view will show your file names in a list. To switch between the two different views, simply click the ‘Switch to List View‘ button (when in ‘Icon View’):

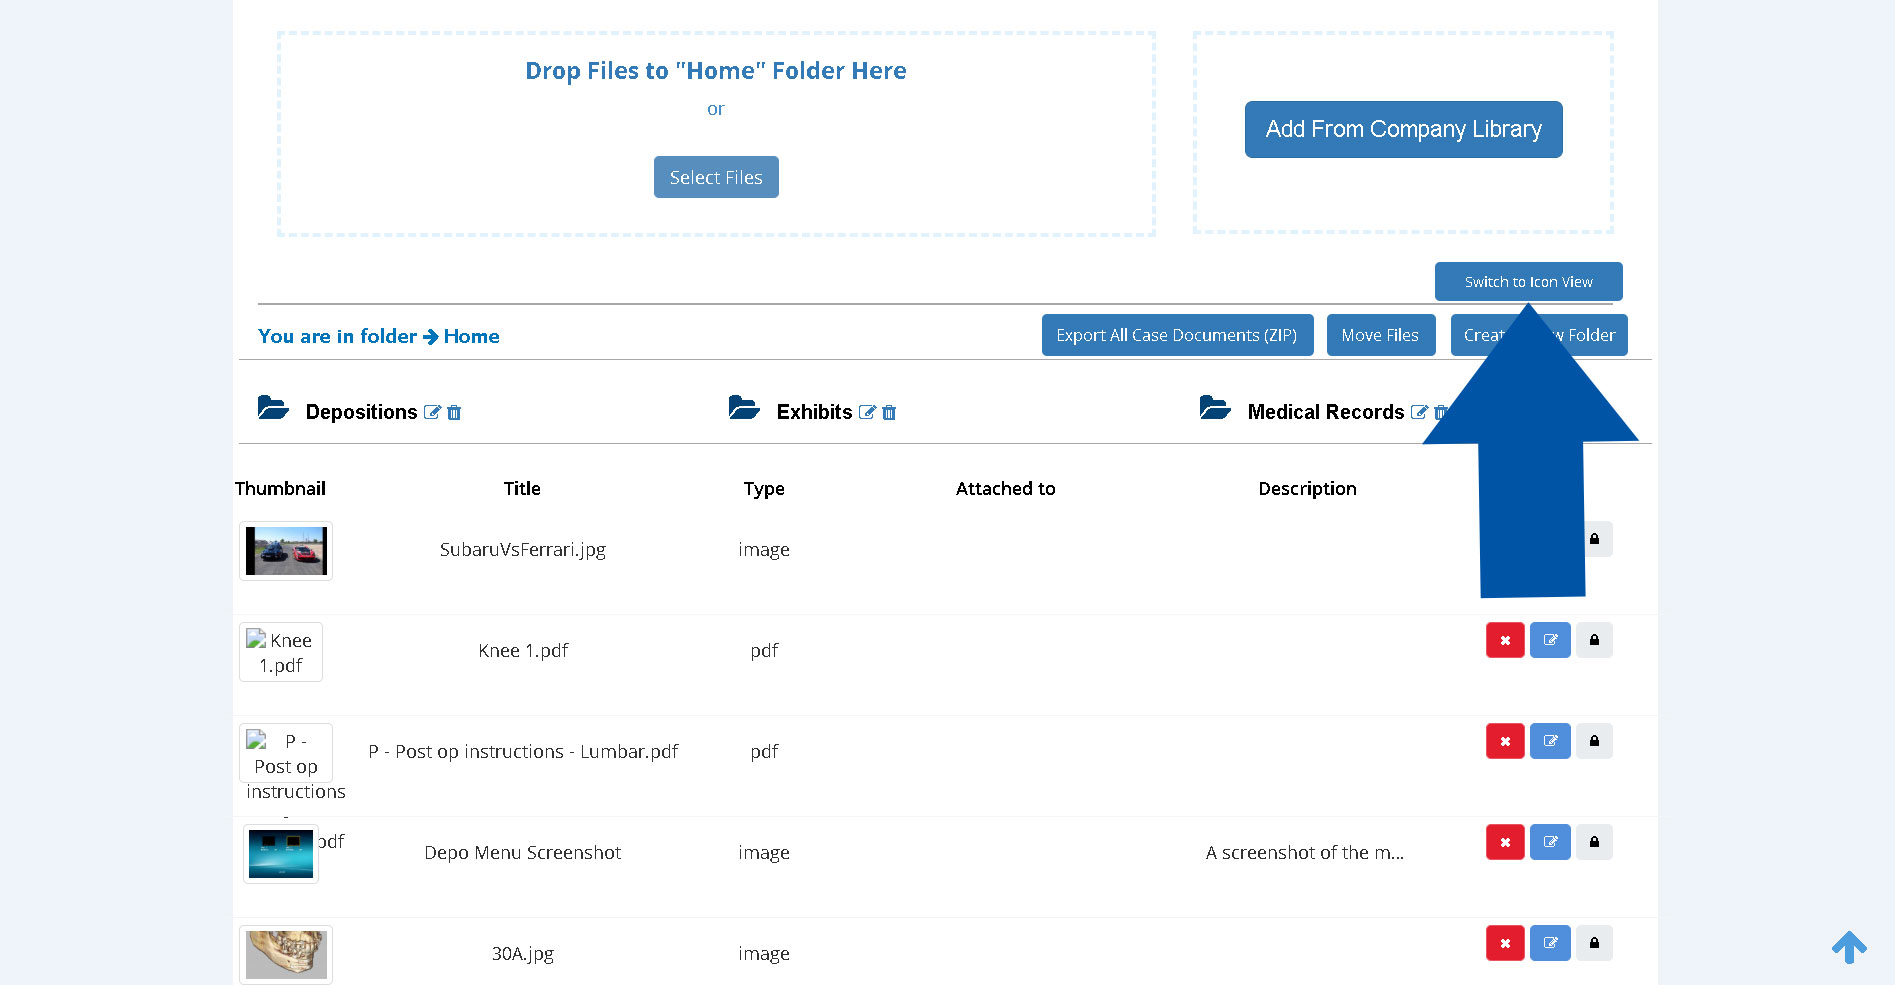
or the ‘Switch to Icon View‘ button (when in the ‘List View’):
The Icon View
In the ‘Icon View’, you’ll see that there are three small icons superimposed on top of the thumbnail for each file: a cloud icon, a gear icon and an ‘X’ icon:
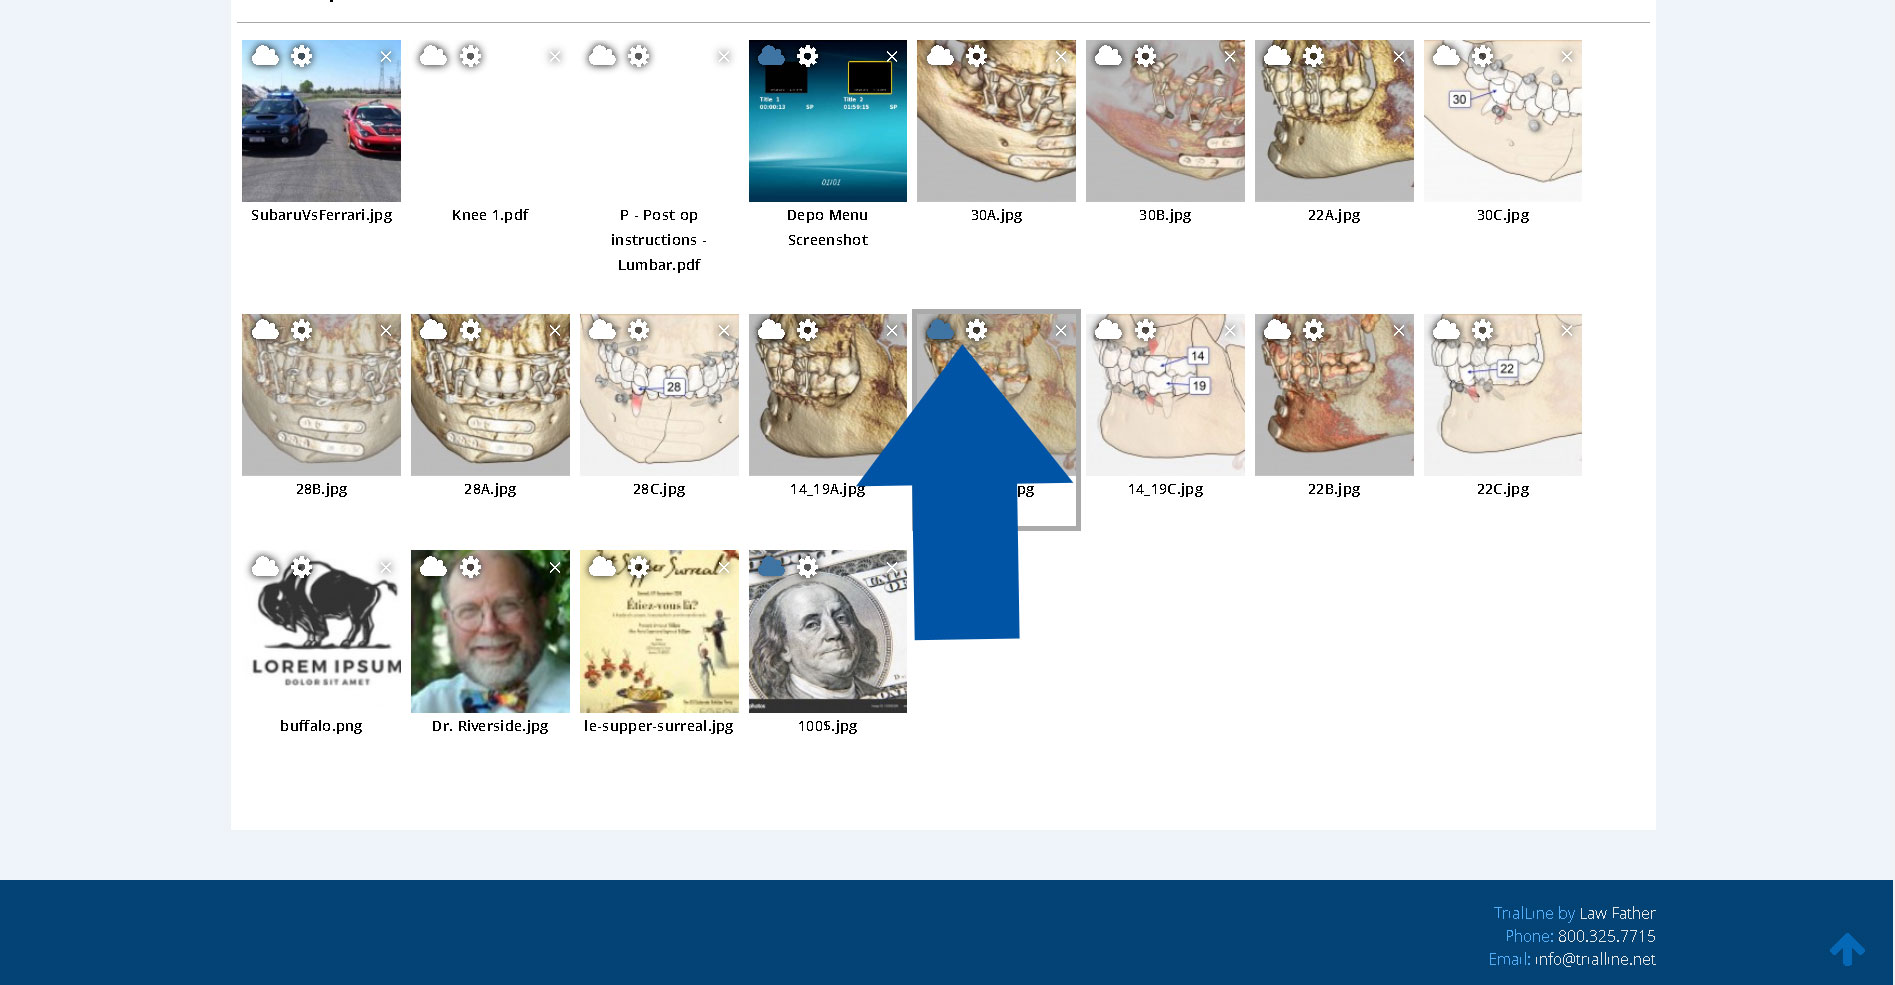
Cloud Icon
Clicking on the cloud icon enables you to duplicate that file to your company file library for later use:
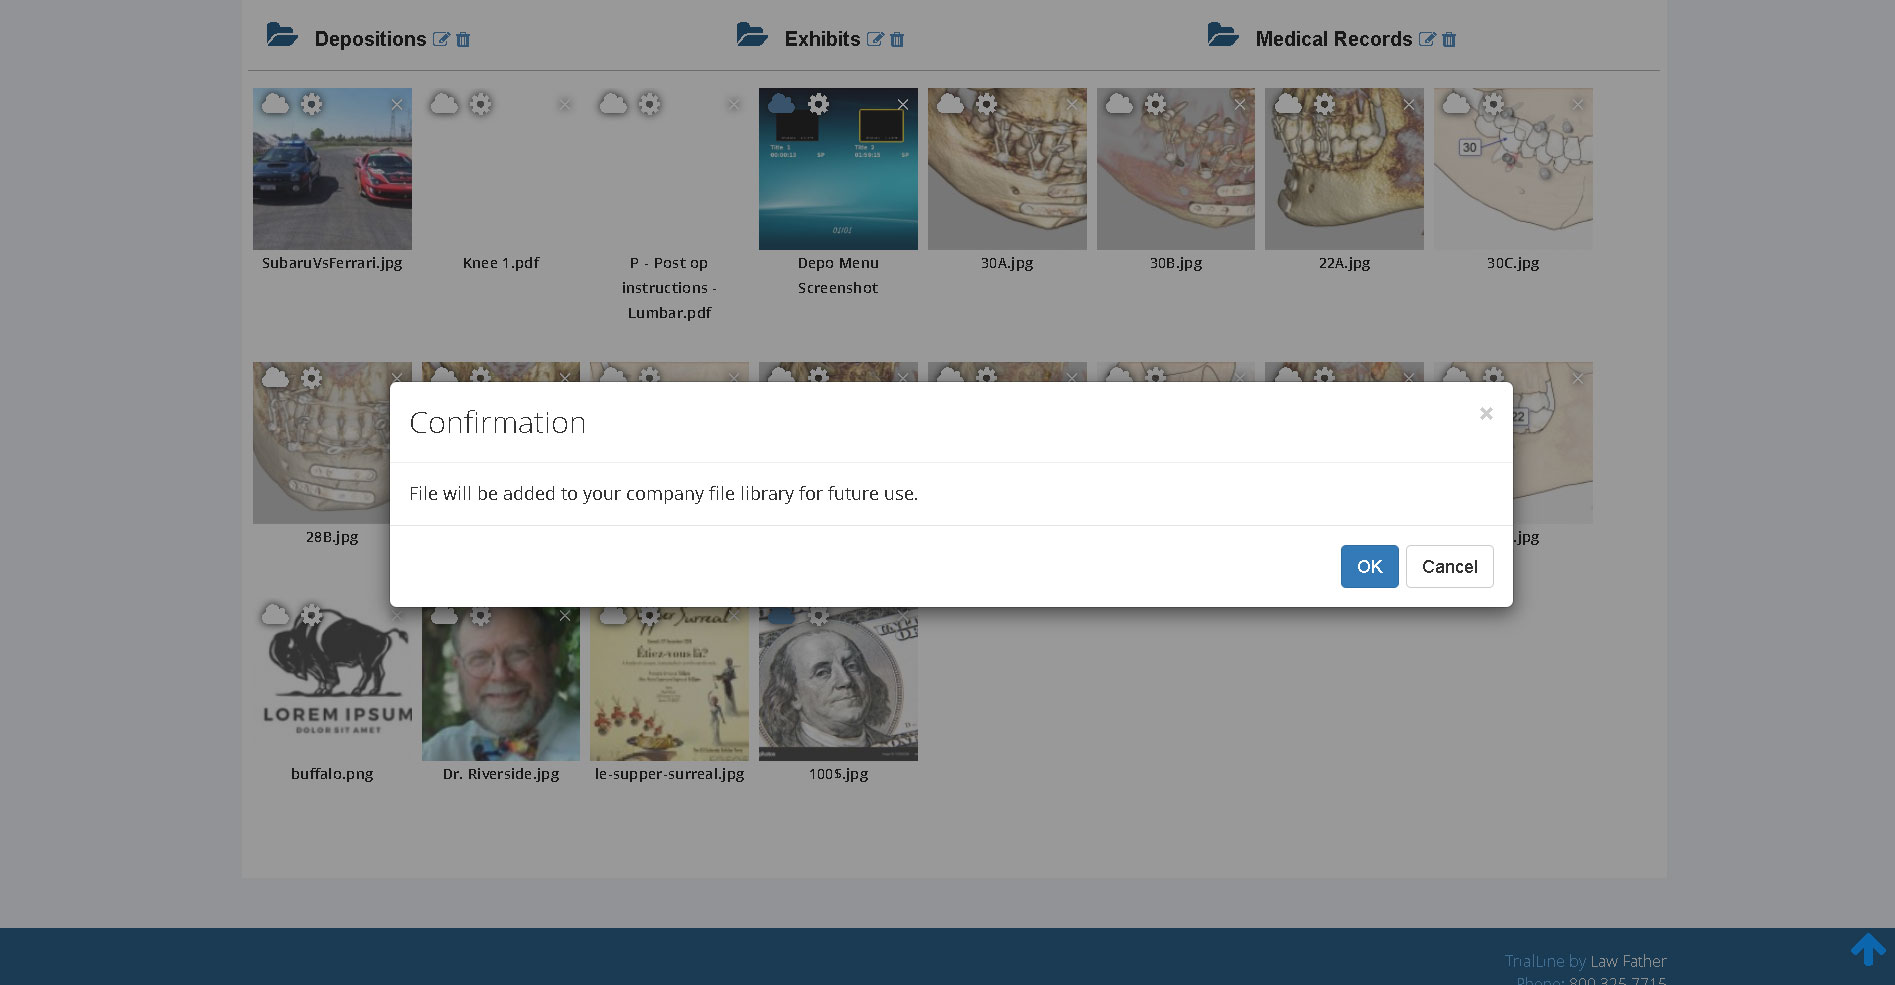
Files that have a blue cloud icon on them have already been shared to the company file library.
Gear Icon
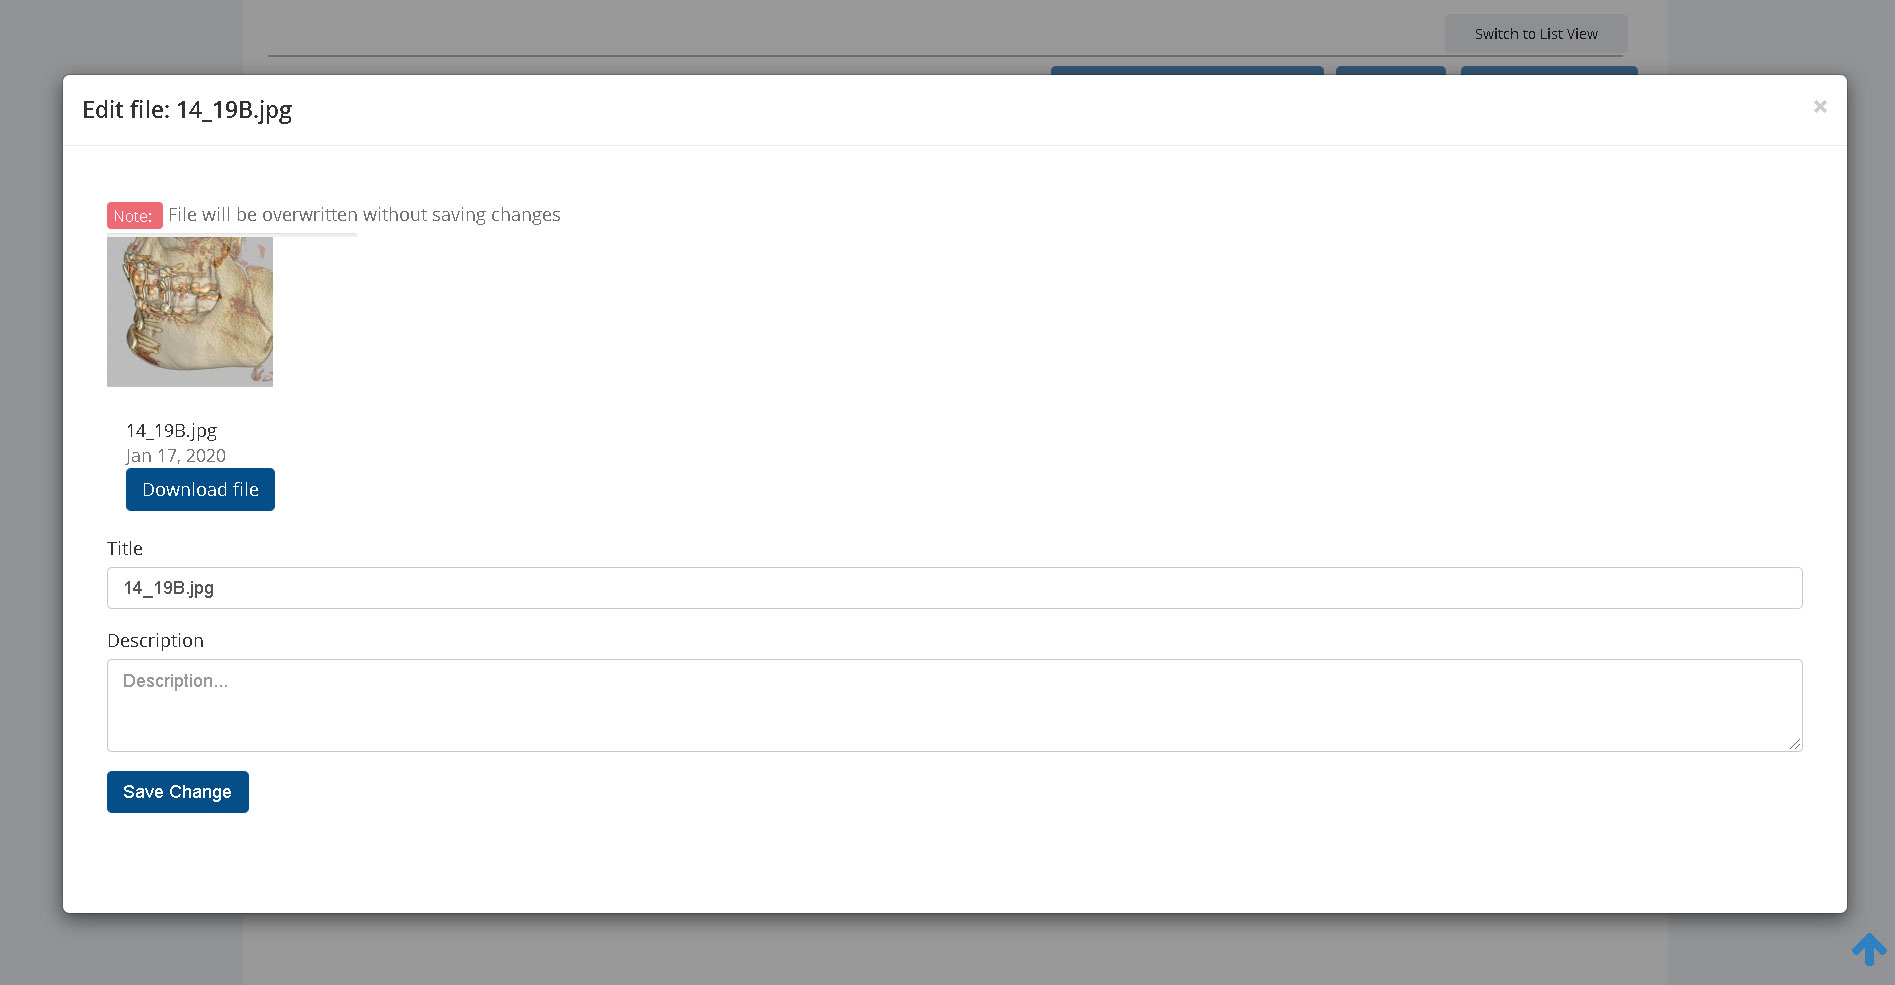
Clicking the gear icon will open an edit window for that file that enables you to do three things: download that file to your local machine, edit the file name, and add or edit a description for that file:
‘X’ Icon
Clicking ‘X’ icon will delete the file from your library.
The List View
When in the ‘List View’ you’ll see small thumbnails for each of your files, along with the file title, type, the name of the TrialLine the file is attached to, and the description for each file.
There are also buttons to perform three different actions: a red button with an ‘x’ in it that will enable you to delete the file, a blue button with a pencil icon that will enable you to edit the file, and lastly a grey button with a padlock icon that will duplicate the file to your company file library.
Search and Sort Files
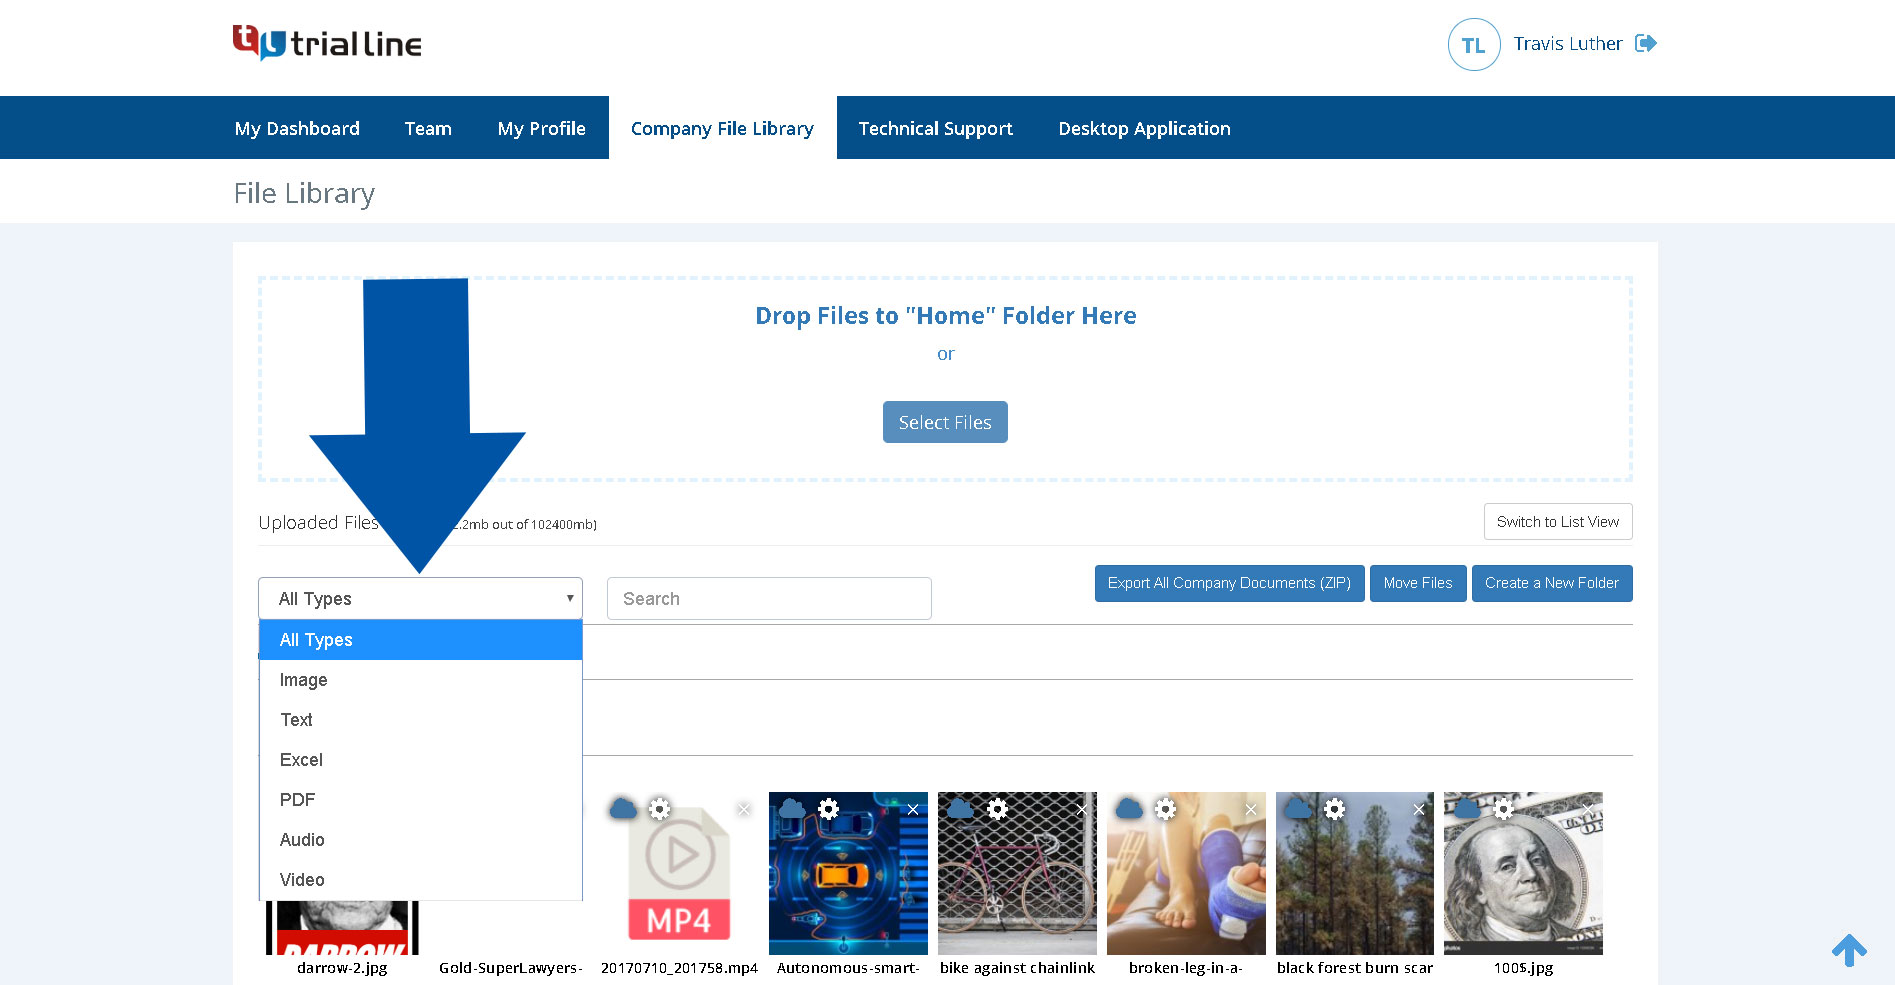
In the company file library, you’ll see that you can select which files are displayed by file type, using the drop down menu, and that you can also search for specific files by name, using the search bar:
Previous tutorial: How to Create Events in TrialLine
Need More Help? Contact Us Today

At TrialLine, we’re serious about making sure you have the tools and information you need, to make the most of our attorney timeline software. If you ever have any questions or issues, please contact us using the technical support form in your dashboard, and we will answer your questions and resolve your issues as quickly as possible.
“From what I’ve experienced so far, the TrialLine company as a whole has a lot of integrity and vision.” – TrialLine User Lindsay P.

