
In the fast-paced world of law, time is everything. Lawyers juggle complex cases with countless details, deadlines, and events. A legal timeline serves as a visual roadmap, organizing facts chronologically to reveal patterns, strengthen arguments, and streamline presentations. But creating one from scratch can feel overwhelming. Enter TrialLine, a cloud-based tool designed specifically for attorneys. With TrialLine, you can build a professional legal timeline in minutes, not hours. This guide walks you through the process step by step.
Why Use a Legal Timeline?
Before diving in, consider the advantages. A well-crafted timeline helps you:
- Spot inconsistencies in case facts.
- Track key deadlines and milestones.
- Present compelling stories in mediations or trials.
- Collaborate with your team in real time.
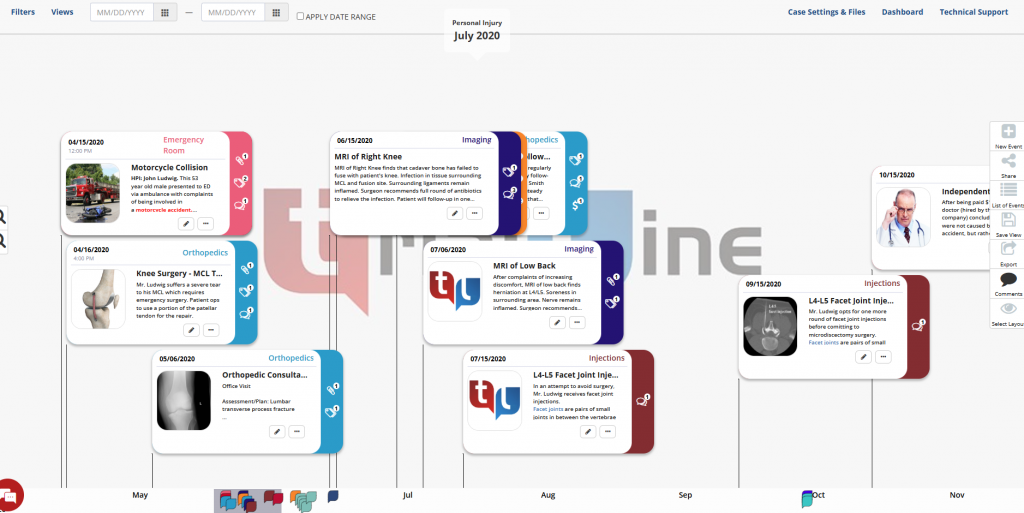
TrialLine makes this easy by turning raw data into interactive visuals. It integrates with tools like Clio, allowing seamless import of case details. Plus, features like filtering, sorting, and list views keep everything organized.
Getting Started with TrialLine
Ready to create your timeline? TrialLine offers a 7-day free trial with no credit card required. Head to trialline.net and sign up. Once logged in, follow these simple steps.
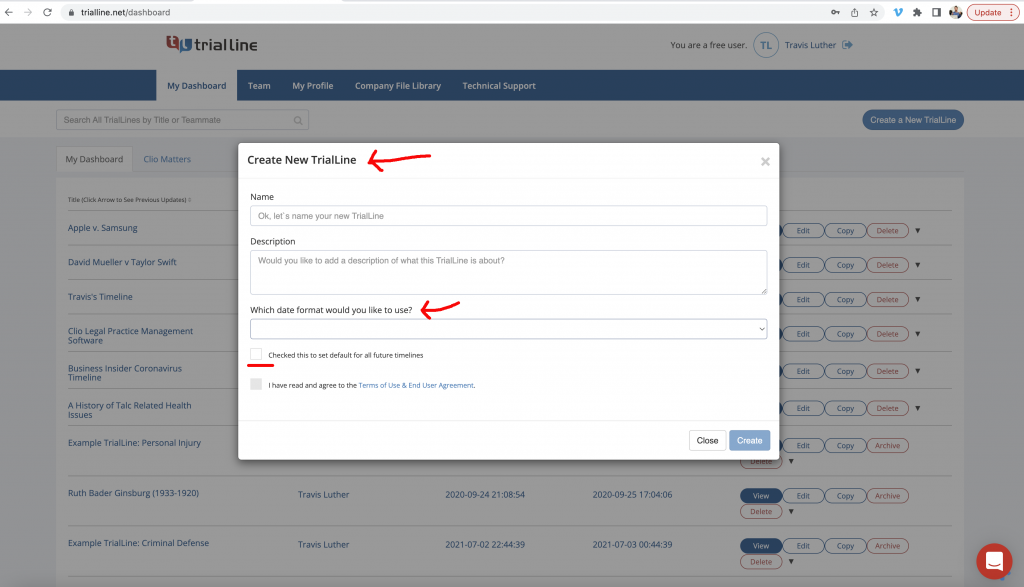
Step 1: Set Up Your Case
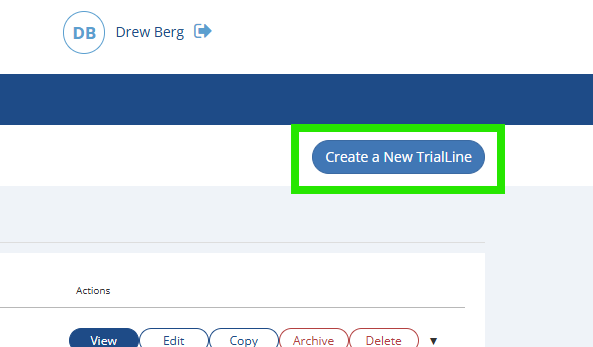
After signing in, click “Create a New TrialLine” in the upper right hand corner. Enter basic case info like the title, client name, and description.
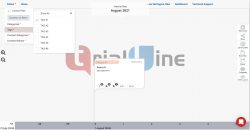
Step 2: Add Events Quickly
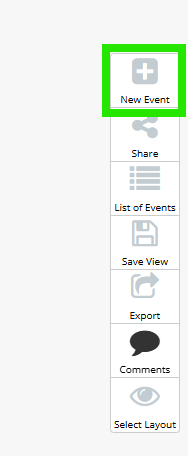
TrialLine’s intuitive interface lets you input events fast. Use the “New Event” button to enter details such as:
- Date and time.
- Description of the event.
- Supporting documents or notes.
- Categories for easy filtering (e.g., motions, depositions).
Import data from Clio or upload spreadsheets to populate multiple events at once. No manual typing needed for bulk entries.
Step 3: Organize and Customize
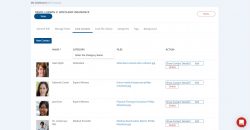
Use different layouts to view the data. Share your timeline with expert witnesses or team members to gather comments and feedback. Apply filters to show or hide specific types, review comments. Switch to list view for a text-based overview. Customize colors, labels, and layouts to match your case’s narrative. TrialLine’s tools ensure your timeline looks polished without design skills.
Step 4: Review and Share
Preview your timeline in various formats: chronological, zoomed in, or exported as a doc or image. Share via link for team collaboration or courtroom use.
Plus – now with our new offline app you can download your TrialLine’s for full offline use and presentation.